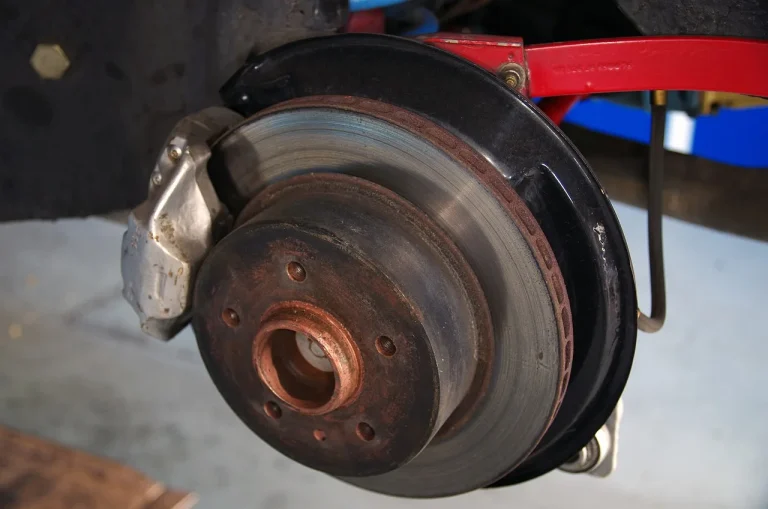
How to Measure Brake Pad Thickness Correctly at Home
Measure brake pad thickness at the pad material only, not the backing plate. If the friction material is at about 3 mm or less, replace it soon. A bad reading can leave you with worn pads that overheat, score rotors, and reduce stopping margin. This guide shows where to measure, how to avoid false readings, and how to judge borderline measurements.
Brake pad thickness basics
Brake pad thickness means the usable friction material on the pad, measured from the backing plate to the outer friction surface. That number is usually given in millimeters, though some service information still uses inches. New pad thickness varies by vehicle and pad design, so the starting number is not the same on every car.
The backing plate is the metal base the friction material is bonded to. It is the reference point for measurement, but it is not counted as pad thickness. That separation matters because a caliper or ruler can easily read the whole pad and give you a false, much larger number.
What you’ll need
- Brake pad thickness gauge
- Ruler or caliper as a fallback
- Work light
- Wheel access, with the wheel on or off depending on caliper clearance
- Vehicle service manual or brake spec sheet
How do you measure brake pads?
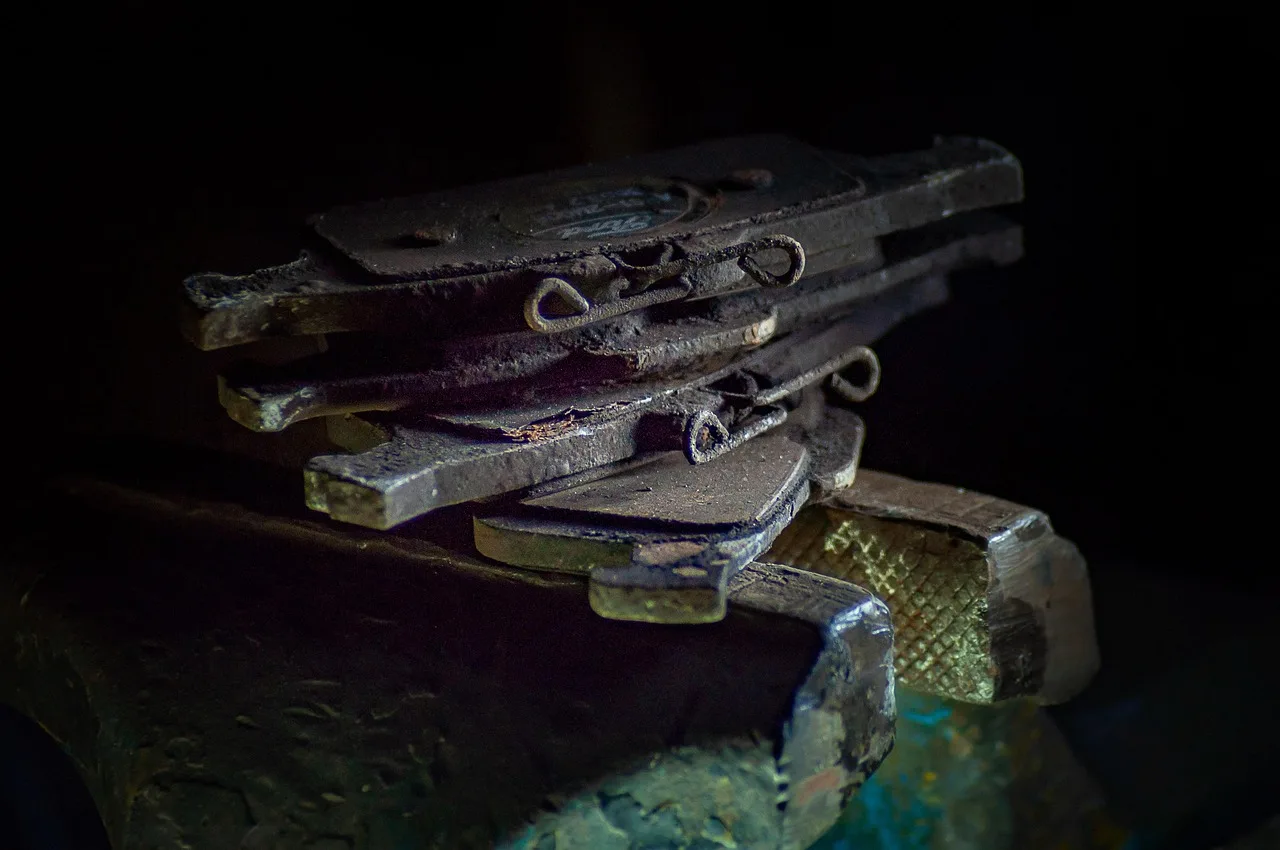
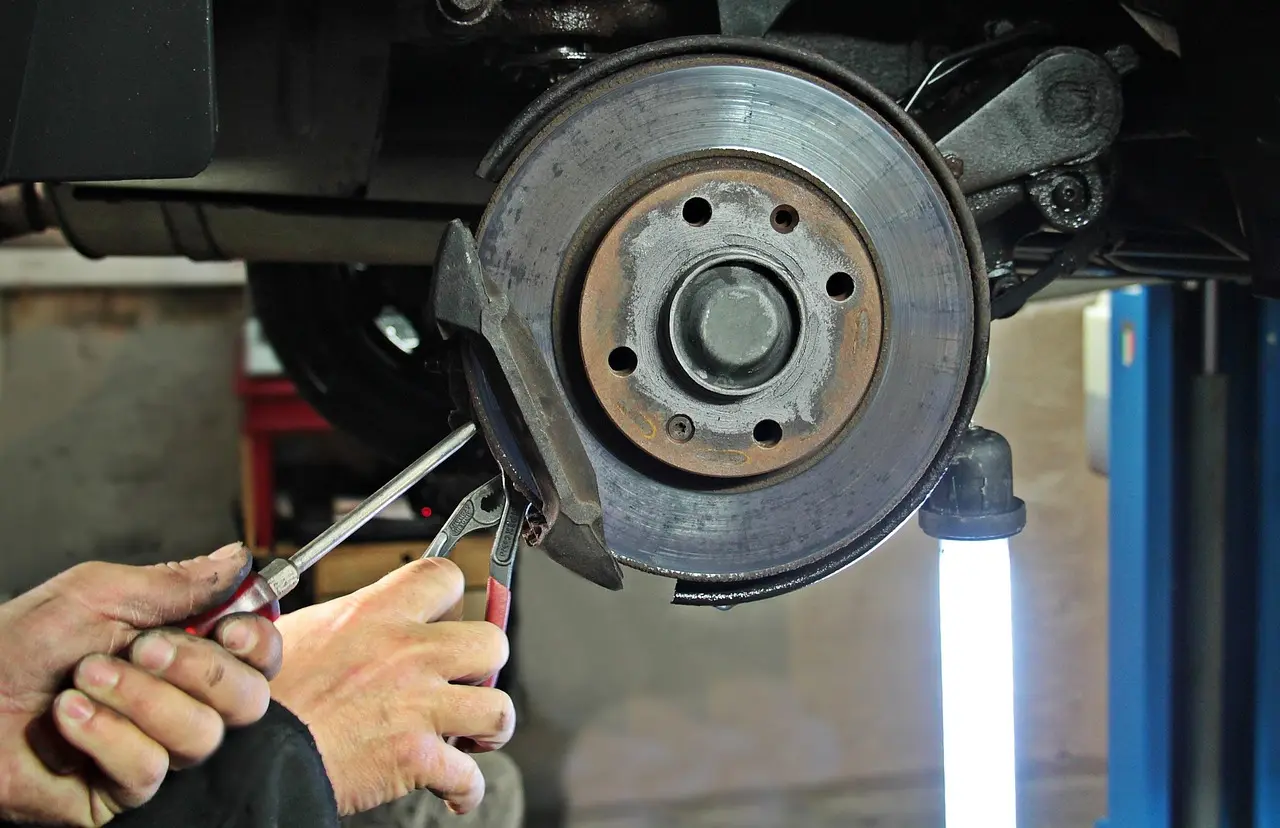
Measure the friction material from the backing plate to the outer pad surface, then compare the result with the vehicle’s minimum spec. Check all four wheels, because inner and outer pads can wear at different rates. If the reading is unclear, inspect the rotor and the wear pattern before you decide the pad is safe.
- Park on level ground and secure the vehicle.
- Chock the wheels and set the parking brake if the axle is not being inspected.
- Look through the wheel or remove it if access is tight.
- Find the pad edge that lets you read the friction material only.
- Measure from the backing plate to the outer friction surface.
- Compare the reading with the service manual, then inspect the rotor and the opposite pad.
Say your front pad reads 4 mm on the outside pad and 2.5 mm on the inner pad. The smaller number controls the decision, because the thinner pad will fail first. That axle needs attention sooner than a wheel where both pads are near 6 mm.
How do you use a brake pad thickness gauge?
A brake pad thickness gauge is a narrow measuring tool shaped to fit between the caliper and the pad. It gives a quick reading in millimeters and can often be used with the wheel installed if the caliper opening is large enough. Use it to confirm wear without removing the wheel whenever access is good.
- Insert the gauge tip until it touches the backing plate and the pad face.
- Keep the tool square to the pad so it does not ride on an edge.
- Read the millimeter mark directly from the gauge.
- Repeat on the inner and outer pads for the same wheel.
- Compare left and right sides on the same axle.
Suppose the outer pad on the left front wheel reads 6 mm and the inner pad reads 3 mm. Do not average them and call it fine. The inner pad is the one that needs the decision, and the difference points to uneven wear that needs a closer look.
How do you measure brake pads with a ruler or caliper?
A ruler or caliper is the best fallback when a gauge will not fit or when you want a direct measurement after wheel removal. Keep the tool off the rotor and away from the caliper bridge, or you may read metal instead of pad material. This method works best when you can see the pad edge clearly.
- Remove the wheel if access is limited.
- Place the caliper jaws or ruler at the pad edge only.
- Measure from the backing plate to the outer friction surface.
- Check for taper, because one end may be thinner than the other.
- Look for a rust lip on the rotor that can hide the real pad edge.
Picture a rear pad with a thick outer edge and a thinner inner edge because of tapered wear. A single straight-on ruler reading can miss the thin section. Measure the narrowest usable area, then verify the rotor face is not fooling the reading.
What should brake pad thickness be?
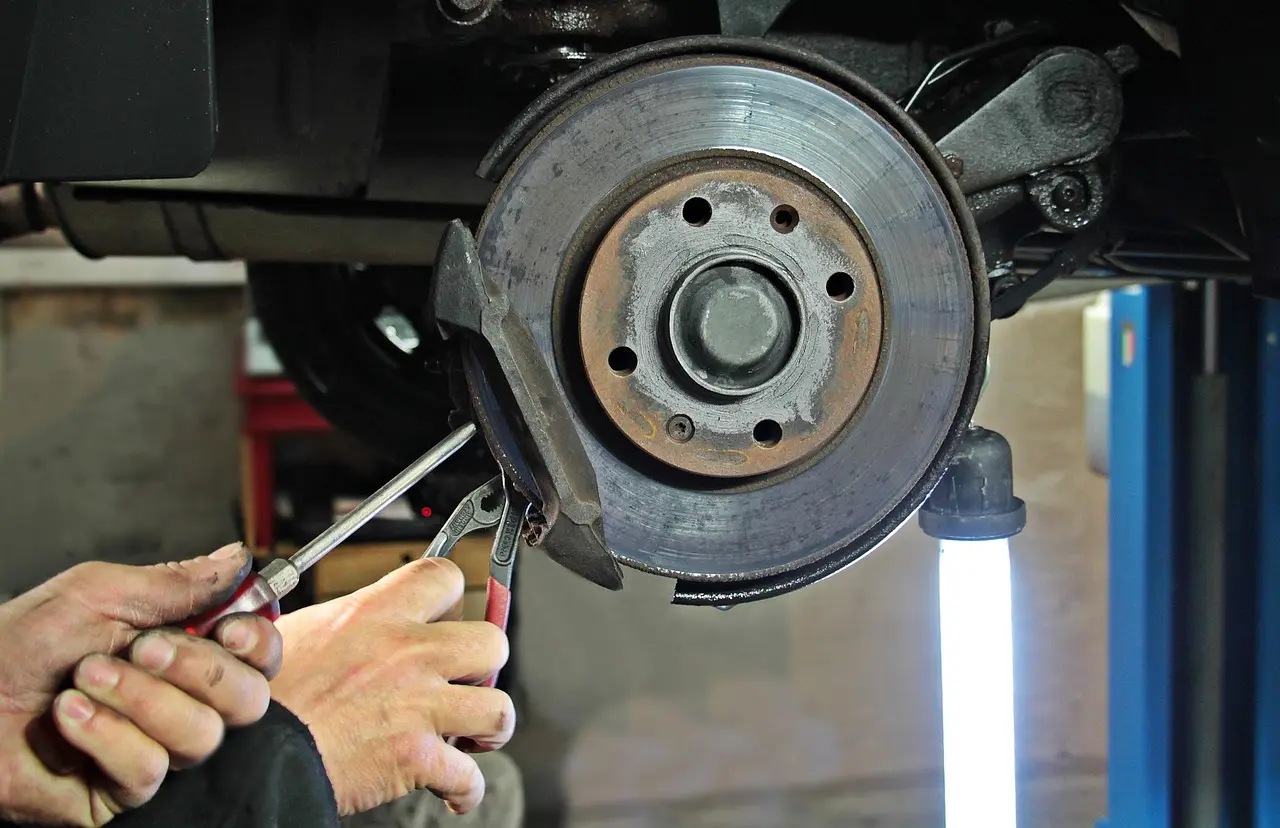
A common rule of thumb is that brake pads should be replaced around 3 mm, with 2 mm often treated as urgent in many guides. That is not a universal law. The vehicle service manual sets the real minimum, and front and rear specs can differ on the same vehicle.
At 4 mm, the pad is usually in the inspect-soon range, not an emergency. At 3 mm, plan replacement. At about 2 mm, the pad is near the end of its safe life and should be treated as a prompt service item unless the manual gives a different minimum.
Brake pad thickness decision table
| Measured thickness | Likely status | What it means for safety | Next action |
|---|---|---|---|
| 10 mm | Healthy wear | Strong remaining material, unless the rotor or wear pattern is poor | Recheck at the next tire rotation or service visit |
| 8 mm | Normal wear | Usually safe, with plenty of material left | Monitor both pads on the axle |
| 6 mm | Mid-life wear | Usually safe, but the next inspection should not be skipped | Plan a closer check soon |
| 4 mm | Borderline inspect-soon | Still usable, but the safety margin is getting smaller | Inspect rotors, inner pads, and service interval now |
| 3 mm | Replace soon | Common minimum reference point before the pad gets too thin | Schedule brake service |
| 2 mm | Urgent | Very little usable material remains | Stop extending service and replace promptly |
Note: The vehicle service manual overrides any generic threshold. If the manual says 4 mm minimum for one axle and 2 mm for another, follow that spec instead of a universal rule.
Common mistakes
One common mistake is measuring the backing plate instead of the friction material. That turns a nearly worn pad into a false “good” reading. Another is checking only one wheel on the axle, even though inner and outer pads can wear at different rates.
Rotor condition matters too. Deep scoring, a rust lip, or uneven rotor wear can change the decision even when the pad still shows usable thickness. A brake wear indicator can warn early, but it does not replace the measurement. If the reading is unclear, inspect the rotor and the wear pattern. Compare both front or rear pads on the axle, because inner and outer pads can wear differently. The vehicle service manual sets the real minimum.
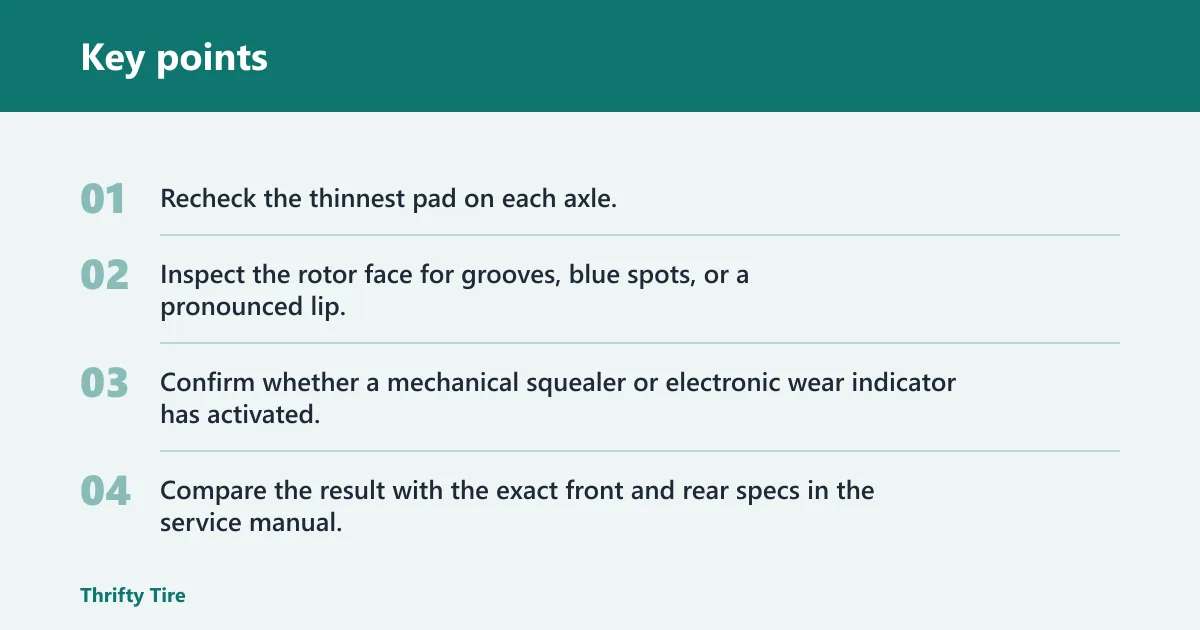
- Recheck the thinnest pad on each axle.
- Inspect the rotor face for grooves, blue spots, or a pronounced lip.
- Confirm whether a mechanical squealer or electronic wear indicator has activated.
- Compare the result with the exact front and rear specs in the service manual.
Frequently asked questions
How do you measure brake pad thickness?
Measure the pad material itself, not the metal backing plate. Read from the backing plate to the outer friction surface in millimeters or inches. If access is tight, remove the wheel and use a caliper or ruler, keeping the tool off the rotor and caliper hardware.
How thick is a brake pad when it needs replacing?
A pad around 3 mm is usually in the replace-soon range, while 2 mm is often treated as urgent. That said, the manufacturer’s spec overrides the general rule. If the rotor is damaged or the wear is uneven, replacement may be justified sooner.
How do you measure brake pads without removing the wheel?
Use a brake pad thickness gauge through the wheel opening if the caliper clearance is wide enough. A work light helps you find the pad edge. If you cannot see the backing plate and friction surface clearly, remove the wheel and measure with a caliper instead of guessing.