Tire Pressure: How to Check, Set, and Maintain It
Check tire pressure before the first drive of the day, or after the vehicle has sat at least three hours, match each tire to the vehicle placard PSI on the driver’s door jamb, and add air in 1–2 PSI steps, rechecking after each burst so you do not overshoot. Wrong pressure speeds tread wear, hurts braking and handling, and can raise fuel use or heat buildup enough to damage a tire. This guide covers the cold-check routine, how to add or bleed air at home or a gas station, and how temperature changes affect your readings.
What you’ll need
- Vehicle PSI information: the driver-side door-jamb placard first, then the owner’s manual if needed.
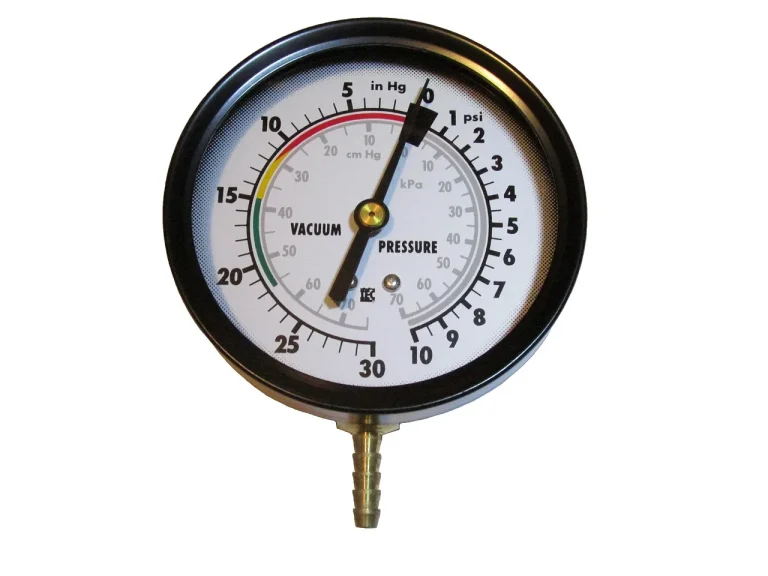
- Tire pressure gauge: digital, dial, or stick type that seals tightly on the valve stem.
- Air source: a gas-station compressor or a home tire inflator.
- Access to each valve stem: the black or silver pencil-sized stem near the wheel or hubcap.
- Valve caps: remove them for the check, then reinstall them to keep dirt and moisture out.
Digital gauges are easiest to read in low light. Dial gauges are quick to scan and often feel solid in hand. Stick gauges are compact and cheap, but they are easiest to misread and most sensitive to a crooked seal. Quality gauges generally cost about $10–$20.
Some gas-station inflators include a built-in gauge. Use it to add air, then confirm the reading with your own gauge before you stop. AAA lists a guide about using compressed air or nitrogen to inflate tires, but the routine here stays the same either way: measure first, adjust in short bursts, recheck often.
When should you check tire pressure?
Check tire pressure before driving, or after the vehicle has been parked long enough to give a true cold reading. A cold tire means the vehicle has been stationary for at least three hours or driven under a mile. Morning checks are easiest because sun and driving heat have not shifted the reading yet.
Driving can raise pressure by several PSI, so a hot reading is mainly useful for spotting a very low tire, not for setting final pressure. If you drove to a gas station, use the gauge reading to see whether a tire is obviously low, then finish the fine adjustment when the tires are cold again if you want the most accurate result.
Temperature also moves the number around. A common rule of thumb is about 1 PSI for every 10°F change. That is why a tire that looked fine in mild weather can trigger a warning light on the first cold morning of the season.
How do you check tire pressure correctly?
Use the same sequence every time: confirm the cold condition, read the driver-side door-jamb placard, check each tire one by one, and compare each reading with that tire’s target. The details that matter are a straight gauge seal and separate front and rear comparisons, especially when the vehicle uses different pressures at each axle.
Step-by-step routine
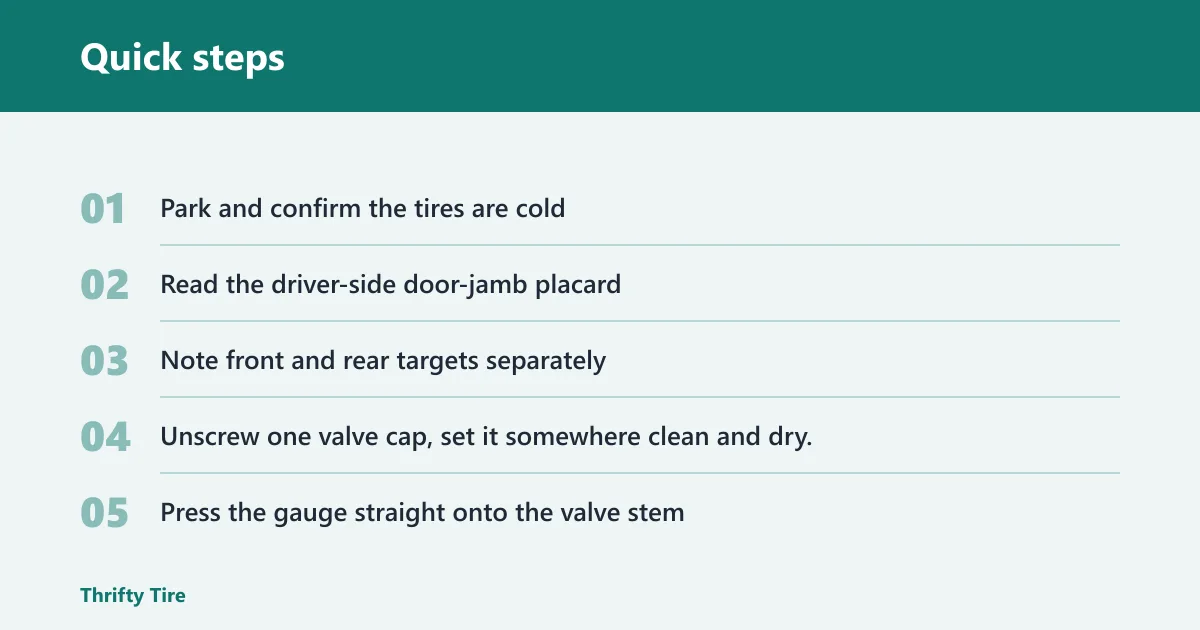
- Park and confirm the tires are cold.
- Read the driver-side door-jamb placard. Use that cold inflation recommendation, not the number molded on the tire sidewall.
- Note front and rear targets separately. Many vehicles use different PSI front to rear.
- Unscrew one valve cap, set it somewhere clean and dry, and keep grit away from the inside threads and seal.
- Press the gauge straight onto the valve stem. If you hear a long hiss, reseat the gauge and measure again because a poor seal can show a false low reading.
- Read the PSI and compare it with the placard value for that position.
- Work around all four road tires in the same order, then check the spare and compare it with its own listed pressure if the vehicle gives one.
- Write down any low, high, or split front-to-rear readings before adding air.
Where drivers get tripped up
The tire sidewall shows a maximum PSI, which is generally treated as an upper structural limit for that tire, not the vehicle’s target operating pressure. The correct target is the vehicle recommendation on the placard or in the owner’s manual.
Most passenger vehicles use a recommended range of 30–35 PSI, but that is only a rough reference. If the sticker says something else, use the sticker. SUVs, trucks, and some higher-load vehicles often specify higher pressures, and compact or temporary spares commonly use a different number than the road tires.
Suppose the tires were checked after a highway drive and the gauge reads 39 PSI, even though the recommended cold pressure is 35 PSI. A common first-timer mistake is to inflate all four to 35 because it feels simpler. That erases the front-rear split the vehicle was designed around, so compare each axle to its own line on the sticker.
Using a Gas Station Air Pump
If you need to top off low tires away from home, the gas-station process is straightforward: find the valve stem, compare the pressure to the vehicle placard, add air in short bursts, and recheck until each tire is at the target PSI. The supporting guide on gas station tire pressure explains each step so you can avoid underinflating or overshooting, which helps protect handling, tire wear, and fuel economy.
It also covers practical problems like confusing air-machine controls and how to confirm the reading when the hose is removed, making it useful any time you’re relying on a public compressor instead of a home gauge or inflator.
What PSI should your tires be at?
Your tires should be at the cold PSI listed for your vehicle, first on the driver-side door jamb and second in the owner’s manual if the sticker is missing. Use the exact front and rear values shown there, even if they differ from each other or from the common 30–35 PSI range.
That recommendation is the cold inflation target. It assumes the tires have not been warmed up by driving or direct sun. If the sticker and manual disagree after a wheel or tire change, use the vehicle-specific guidance that matches the current tire fitment and load condition listed by the manufacturer.
The sidewall maximum is not a shortcut. It does not tell you what the car, crossover, SUV, or truck should run in normal use. It tells you the upper limit for the tire itself.
Say your pickup’s placard calls for a higher rear pressure than a typical sedan, or your spare shows a much higher number than the road tires. That is normal. Check each spec where it belongs instead of forcing every tire into one blanket PSI.
How do you set the pressure without overfilling?
Set pressure by creeping up on the placard number in about 1–2 PSI steps, rather than guessing with one long fill. Connect the inflator, add air in 1–2 PSI steps, stop, and recheck with your own gauge after each burst. That method works at home or at a gas station and cuts down on overshoot.
Practical fill-and-recheck method
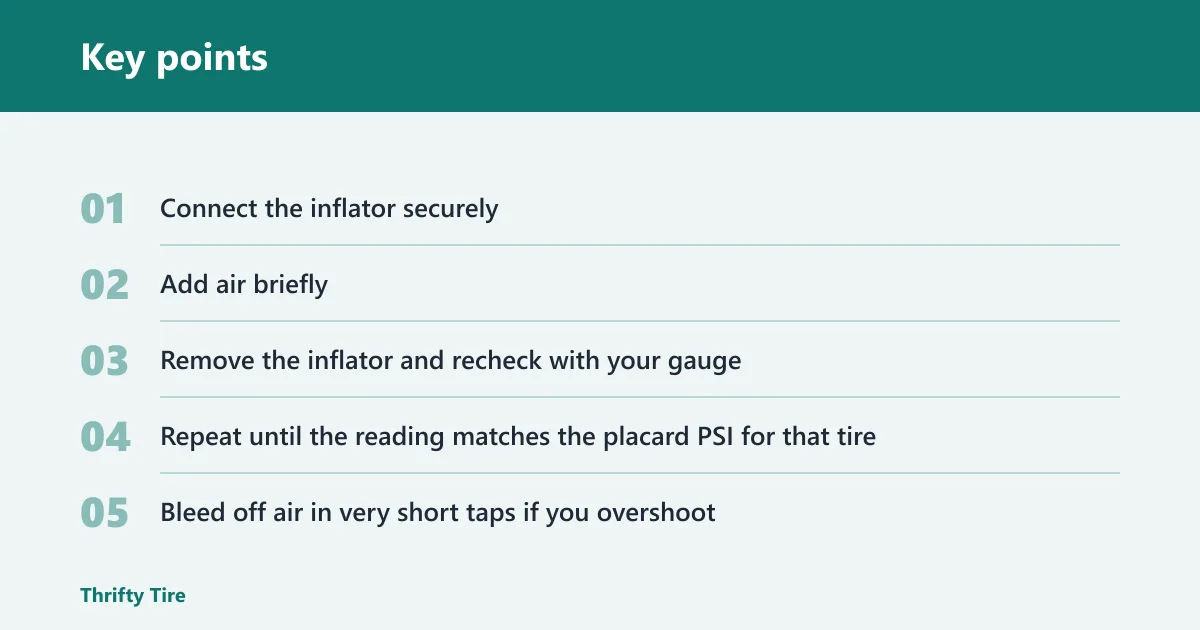
- Connect the inflator securely.
- Add air briefly. Aim for a 1–2 PSI increase per burst, then stop.
- Remove the inflator and recheck with your gauge.
- Repeat until the reading matches the placard PSI for that tire.
- Bleed off air in very short taps if you overshoot.
- Reinstall the valve cap after the final reading.
How much air to add when a tire is low
If a tire is slightly low, bring it up in one short burst, then measure again right away. If it is far below target, resist the urge to fill it in one shot. Built-in gas-station gauges can drift, and compressor hoses often make it hard to stop on the exact number.
Picture a tire that should be 35 PSI but reads 33. Add one short burst, recheck, and stop as soon as the gauge reads 35 cold. That is different from a tire reading much lower than target, where repeated short bursts are still the safer method because they keep you from jumping past the mark.
If a tire is repeatedly far below spec, inspect the valve cap, look for obvious damage, and watch whether that same tire loses pressure again on the next cold check. Tires can lose 1–2 PSI naturally each month, but one tire that falls faster than the others needs closer attention.
What if the reading changes after driving or in cold weather?
Expect the number to move with heat and weather. Pressure shifts by about 1 PSI for every 10°F change, and driving can raise the reading by several PSI. Use that hot reading for awareness only, then make final adjustments from a cold measurement rather than bleeding a warm tire down to the cold target.
This is why morning checks are preferred. They strip out two common distortions: heat from driving and heat soaking from a warm parking area. If you must top up after a short drive to reach a service station, add only enough to get close, then verify the next cold morning.
Cold snaps cause the most confusion. A tire that was on target last week can read lower with no puncture at all when the weather drops. Start with the sticker, check all four tires individually, and look for a pattern. If every tire is lower by a similar amount, weather is the first suspect.
Pressure correction decision table
| Gauge reading vs. door-jamb PSI | What to do next | Common mistake to avoid |
|---|---|---|
| 1–2 PSI low | Add air once in a short burst, then recheck immediately with your gauge. Stop at the placard number for that tire position. | Leaving it alone because it is “close enough,” then letting monthly loss push it farther down. |
| 3–5 PSI low | Add air in repeated 1–2 PSI steps and measure after each burst. Compare front tires with the front target and rear tires with the rear target. | Inflating all four tires to one number without checking whether front and rear specifications differ. |
| More than 5 PSI low | Bring the tire up gradually, rechecking every burst. After the final cold reading, recheck the same tire within a day or two to see whether it drops again. | Assuming one big fill solved the problem when a slow leak, damaged valve, or wheel issue may still be present. |
| At placard PSI | Reinstall the valve cap and move to the next tire. Check the spare before you finish. | Stopping after one tire and skipping the rest, including the spare. |
| 1–2 PSI over | Bleed a little air with a quick press on the valve pin, then remeasure. Repeat until it matches the cold placard value. | Ignoring a slight overshoot because the compressor gauge looked exact. |
| More than 2 PSI over | Release air in short taps and recheck after each one. Let the tire cool fully if the reading was taken after driving. | Bleeding a hot tire down to the cold target right after a drive. |
Tire pressure checklist
| Check | What to do |
|---|---|
| Morning cold reading | Measure before driving whenever possible. |
| Recent temperature drop | Use the rule of thumb of about 1 PSI per 10°F when a reading suddenly looks lower than last week. |
| All four tires low by a similar amount | Treat seasonal pressure drift as the first explanation, then refill to the placard values. |
| One tire lower than the others | Refill it, recheck cold soon, and inspect for a valve-cap issue or a slow leak if it drops again. |
| Gas-station top-up after a drive | Get close only, then confirm the final pressure from a full cold check later. |
| Spare tire | Check its separate specification because seasonal drops affect it too. |
Can you rely on TPMS alone?
Use TPMS as a warning, not as the measurement itself. It can tell you a tire is low, but it is not a substitute for a manual gauge, and some systems may not alert until pressure is 25% below recommended. That gap is large enough to miss smaller but still meaningful pressure loss.
If the light is on and your manual reading is only modestly low, correct the pressure to the placard value anyway. A modest cold drop can still trigger the light after a temperature swing, especially if the threshold is close and the reading was taken on a colder morning than usual.
If the light stays on after pressures are correct
- Recheck all four road tires cold. Confirm each one against the correct front or rear placard value.
- Check the spare if your vehicle monitors it. Some systems include it, and a low spare can keep the warning active.
- Drive briefly after adjustment. Many systems need a short drive to update after pressures are corrected.
- Look in the owner’s manual for a TPMS reset procedure if your vehicle uses one.
- Have the system inspected if the light returns with normal cold readings. A sensor fault or a slow leak becomes more likely at that point.
If that did not work, move from the simple checks to the fault checks: valve-cap and valve-stem condition first, repeated cold-pressure comparison next, then TPMS service if the warning keeps coming back with stable manual readings.
Common mistakes
Using the wrong number
The sidewall maximum is not the target. Always start with the door-jamb placard, then the owner’s manual if the sticker is unreadable or missing.
Checking hot and correcting as if the tire were cold
A warm tire can read several PSI higher after driving. Do not bleed it down to the cold target right after a trip, or it will end up underinflated once it cools.
Trusting a bad gauge seal
If the gauge goes on crooked and hisses, the reading may come out falsely low. Press straight, seal firmly, and retest if the first number looks odd.
Assuming the gas-station gauge is precise
Use the compressor’s display to add air, then confirm with your own gauge. That second check is what keeps short-burst filling accurate.
Ignoring caps, spares, and repeat loss
Valve caps matter because they keep dirt and moisture out of the valve. A missing cap, a stuck cap, or a tire that keeps reading low on cold mornings deserves attention. A common rule of thumb is to check pressure monthly and before long trips, and include the spare each time.
Proper inflation can reduce fuel economy loss by 0.2% per 1 PSI drop, but the more useful takeaway is procedural: small losses add up, so a repeatable cold-check routine beats waiting for a dashboard light.
Frequently asked questions
How do I check my tire pressure at home?
Park the vehicle for at least three hours or check it before the first drive of the day, read the driver-side door-jamb placard, unscrew one valve cap and keep it free of dirt, and press a gauge straight onto the valve stem. Compare each tire one by one, then add air in 1–2 PSI steps and recheck.
Should I check tire pressure when tires are cold?
Yes. Cold is the reference condition for the vehicle’s recommended pressure. For a true cold reading, the vehicle should be stationary for at least three hours or driven under a mile. That avoids the several-PSI rise that can happen after driving and keeps your comparison with the placard accurate.
How do I use a tire gauge correctly?
Remove the valve cap, place the gauge squarely on the valve stem, and press straight until the hiss stops. Read the PSI, then measure again if the seal felt crooked or the number looks suspicious. A good gauge should seal tightly; digital, dial, and stick gauges all work if the seal is clean.
How much air should I add if my tire pressure is low?
Add air gradually rather than guessing one large fill. A practical method is 1–2 PSI per burst, followed by a fresh gauge reading after each burst. That works better than relying on the compressor display alone and helps when a tire is only slightly low or when gas-station equipment reacts slowly.
Can I trust my TPMS for tire pressure?
Trust it as an alert, not as the final measurement. TPMS may not alert drivers until pressure is 25% below recommended, so smaller drops can still matter before the light comes on. Use a manual gauge to confirm the actual PSI and set the tires to the cold placard specification.
What is the max PSI on the tire sidewall?
It is the tire’s upper structural limit, not the normal operating target for your vehicle. The number to set is the cold inflation recommendation on the driver-side door jamb or in the owner’s manual. Do not inflate to the sidewall maximum unless the vehicle maker specifically calls for it.