How to Check Tire Pressure with a Gauge: Step-by-Step
To check tire pressure with a gauge, read cold tires, compare the number with the vehicle placard, and add air if the PSI is low. Wrong readings can leave you underinflated or overinflated, which hurts handling, tread wear, and fuel economy. This guide gives a fast three-step gauge routine, common mistakes to avoid, and when a second reading is worth taking.
What you need before you start
A quality tire pressure gauge is the only tool you need to begin, and analog, digital, and pencil-style gauges are all common options. Quality gauges in these categories usually cost between $10 and $20. The correct PSI comes from the driver-side door jamb sticker, or from the owner’s manual if the placard is missing or unclear.
Start with cold tires. That usually means the vehicle has been parked for about three hours or driven less than a mile. Driving can raise tire temperature and pressure by several PSI, so a warm tire can read higher than it should.
Choose the right gauge type
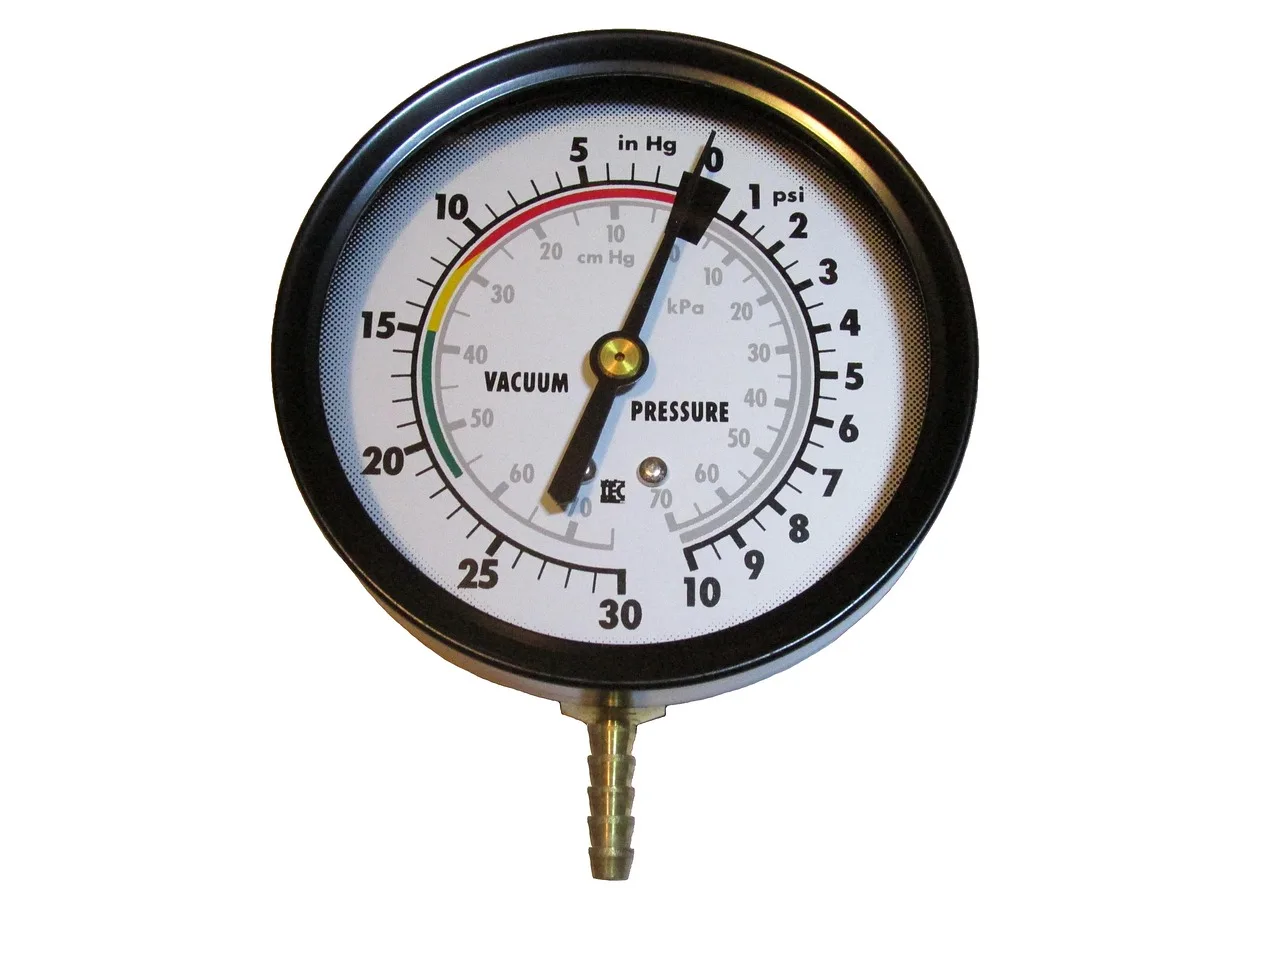
Digital gauges are easy to read. Analog gauges use a dial. Pencil-stick gauges slide a small rod outward to show PSI. All three measure the same thing, but accuracy can vary with build quality and with how well the gauge seals on the valve stem.
Find the placard PSI
Check the driver-side door jamb first. That label lists the recommended PSI for your vehicle, and it can differ between front and rear tires. Passenger vehicles commonly use a recommended range of 30 to 35 PSI, but the label takes priority over the tire sidewall max.
Check for a cold tire
If the car has been driven recently, wait before checking, or expect a higher number. Tire pressure shifts about 1 PSI for every 10°F change in temperature, so morning checks are usually more stable than checks after a highway run.
Remove the valve cap, press the gauge firmly onto the valve stem, and read the PSI as soon as the gauge settles. A brief hiss at the start can be normal. Record each tire separately so you can compare front to rear and left to right.
Remove the valve cap
Unscrew the cap and keep it where you will not lose it. The valve stem needs to stay clean and dry enough for the gauge chuck to seat firmly. If dirt or ice blocks the stem, the seal can fail and the reading can drift.
Seat the gauge on the valve stem
Push the gauge straight onto the stem and hold it there until the hiss stops or slows to a brief, steady escape. The gauge needs a secure seal for an accurate reading. If you angle the chuck or stop too soon, the number can jump around.
Read and record the PSI
Read the number once the gauge stops moving. Write it down or save it on your phone. Then move to the next tire. A small difference between tires can be normal, but one tire that is far off deserves a second check.
How to read a gauge without second-guessing it
Each gauge type should give a clear PSI number, but the display looks different. Digital gauges show the number directly. Analog gauges point to a dial mark. Pencil-stick gauges expose a rod with etched or printed marks. The reading matters only if the gauge is seated firmly and held steady.
Digital gauge readings
Digital gauges show PSI on a screen. If the number jumps several PSI between tries, that usually points to seal trouble, a weak battery, or poor contact on the valve stem rather than a sudden tire change.
Analog gauge readings
Analog gauges use a needle. Read the point where the needle rests, not where it swings during the first hiss. If the needle wavers or lands in a different spot every time, reseat the gauge and try again before assuming the tire pressure changed.
Pencil-stick gauge readings
Pencil-style gauges are small and inexpensive, and they are common in glove boxes. The stick extends to show PSI, so you need to read the mark where the rod stops. These gauges can work well, but they are sensitive to how firmly you press them onto the stem.
What a normal hiss means
A quick hiss at the valve stem is normal. It usually means the chuck has just touched the stem and air is escaping before the seal locks in. The sound should fade quickly once the gauge is seated. A repeating or long hiss is more likely to mean a poor seal.
Seal the chuck quickly
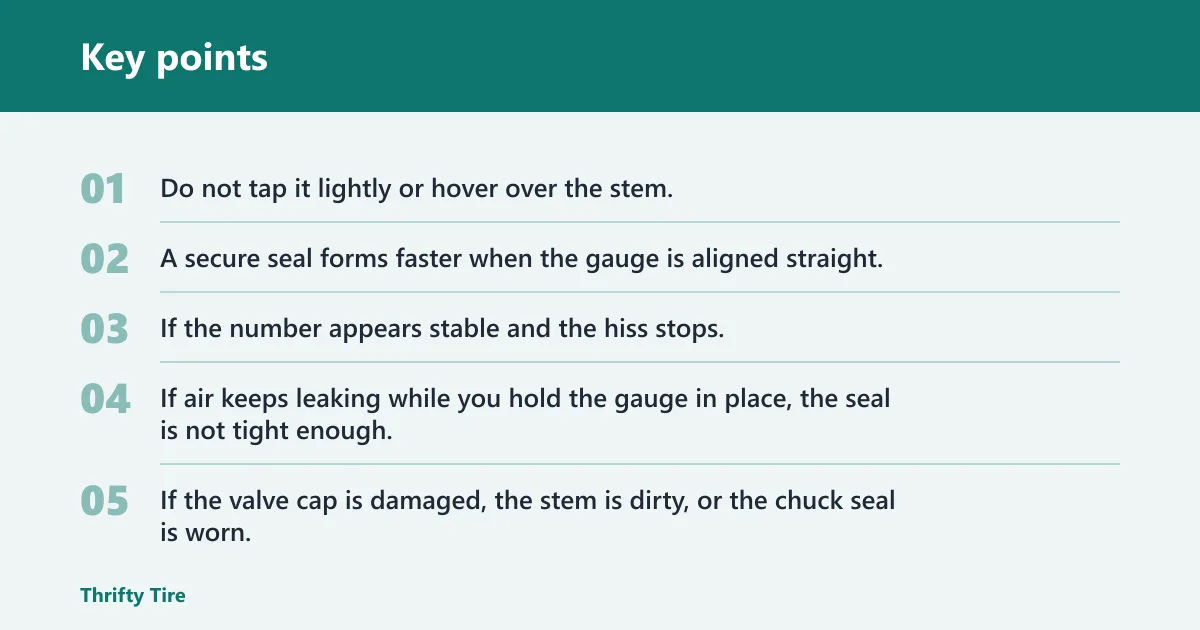
Press the gauge on in one firm motion. Do not tap it lightly or hover over the stem. A secure seal forms faster when the gauge is aligned straight, especially on short or worn valve stems.
When hiss is fine
Brief hiss at the start is expected. The reading should settle after that. If the number appears stable and the hiss stops, the seal is probably good enough for a clean reading.
When hiss points to a bad seal
If air keeps leaking while you hold the gauge in place, the seal is not tight enough. Try again with a straighter push. If the valve cap is damaged, the stem is dirty, or the chuck seal is worn, the gauge may never lock in cleanly.
What to do if the reading looks wrong
If the number jumps, looks far off, or changes between tries, do not trust the first result. Reseat the gauge, inspect the valve stem, and compare the tire with another gauge if the reading still seems odd. That quick sanity check catches weak tools and bad seals.
Try a second reading
Take the same tire reading again after fully reseating the gauge. A difference of a few PSI between tries can mean the seal may have slipped. If the second reading is close to the first, the number is more believable.
Check the valve stem and chuck
Look for dirt, damage, or a worn rubber seal in the gauge chuck. A leaking valve stem can also cause repeated hiss and unstable numbers. If the stem seems damaged, stop and have it inspected before you keep inflating.
Compare with another gauge
When a reading still looks suspicious, check the tire with a second gauge. Two gauges will not always match exactly, but they should land close enough to agree on whether the tire is low, near target, or overfilled.
For example, your driver-side front tire might read 28 PSI, then 34 PSI, then 29 PSI after three careful tries. That spread is too wide to ignore. The likely problem is the seal, not a six-point pressure swing inside the tire.
How to add air without overfilling
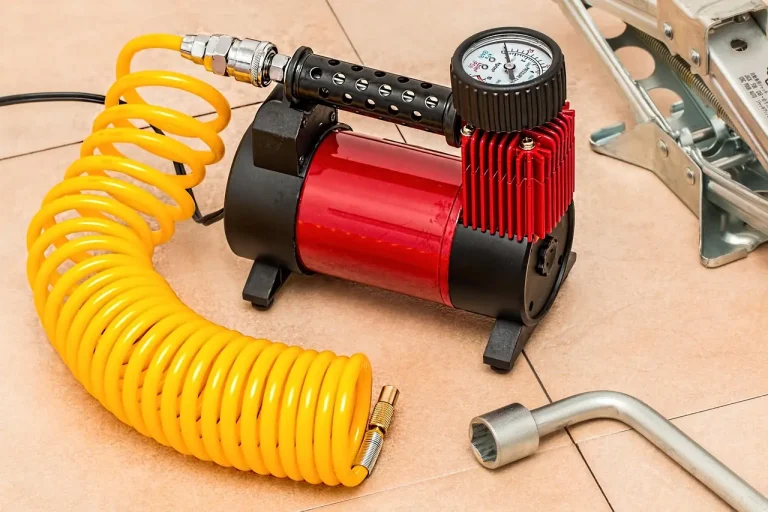
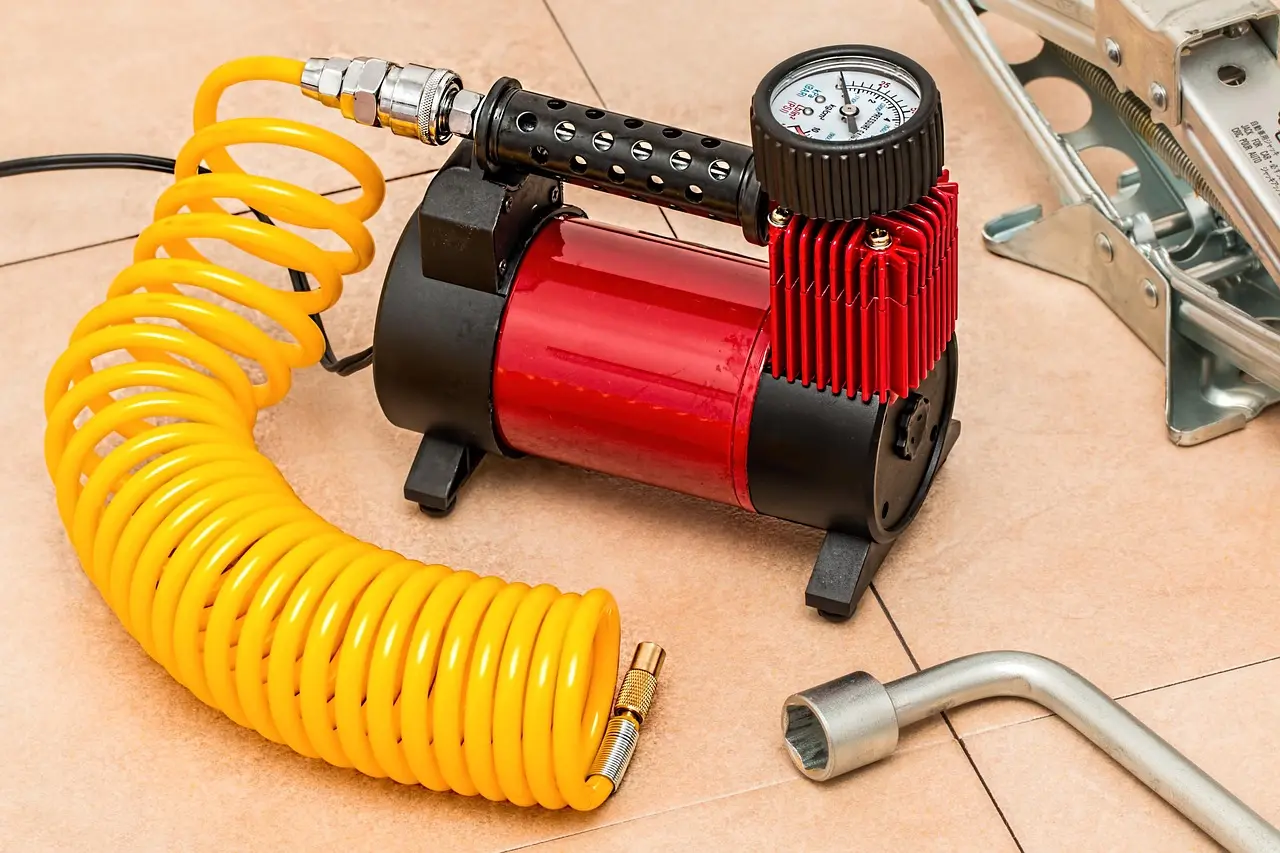
Use an air compressor in short bursts, then recheck after each burst. Gas stations and auto service centers often have compressors, and they are the right tool for topping off low tires. Add air slowly. If you overshoot, release air in small steps and check again.
Use short compressor bursts
Attach the compressor chuck firmly to the valve stem and add air for a short burst only. Long fills make it easy to overshoot the target. A short burst, followed by a fresh reading, is safer and cleaner than trying to guess the final PSI.
Recheck after each burst
After each burst, stop and measure again. That matters because pressure changes quickly near the target. If you are filling at a gas station, the habit keeps a small mistake from becoming a big one.
Release air if you overshoot
If the tire goes past the placard PSI, press the valve core or use the bleed feature on some gauges to let out air in small amounts. Recheck right after. Overfilling can happen fast, especially on small passenger tires.
Picture a tire placard that calls for about 33 PSI and a gauge that shows about 30 PSI on a cold morning. Add air in one short burst, then recheck. If the next read is 32 PSI, add a brief second burst and stop at or near 33 instead of guessing.
Tire pressure check checklist
Use this checklist when you want a fast, confidence-building routine. It keeps the process simple and helps you spot bad readings before you make a wrong adjustment.
| Step | What to do | What you should see |
|---|---|---|
| 1 | Check cold tires and find the driver-side door jamb PSI | A placard value you can use as the target |
| 2 | Remove the valve cap and press the gauge firmly on the stem | A short hiss, then a steady reading |
| 3 | Record each tire and compare the numbers | Front and rear values that make sense together |
| Gauge type | Clean seal | Normal hiss | Suspicious reading | Second gauge? |
|---|---|---|---|---|
| Digital | Press straight on the stem until the display settles | Brief hiss that stops quickly | Number jumps or changes several PSI between tries | Yes, if it still looks unstable |
| Analog | Hold the chuck squarely on the stem | Short hiss before the needle rests | Needle swings or lands in a new spot each time | Yes, if the needle will not settle |
| Pencil-stick | Seat the stem firmly so the rod extends cleanly | Quick hiss, then a stable rod position | Rod does not extend the same way twice | Yes, especially if the seal feels loose |
When to recheck with a second gauge
Use a second gauge when the first one gives a wildly different result, when the chuck will not stay seated, or when one tire seems far lower than the others without an obvious reason. That extra read is useful for catching a worn gauge, a leaking valve, or a bad seal.
Frequently asked questions
How do I check tire pressure with a manual gauge?
Remove the valve cap, press the manual gauge straight onto the valve stem, and read the PSI after the hiss stops. Check cold tires if possible, then compare the number with the driver-side door jamb placard. If the reading looks odd, take it again before adding air.
How do I check tire pressure with a gauge at home?
At home, you only need the gauge and, if the tire is low, a compressor or pump. Check the tires when they are cold, read each one separately, and write down the numbers. If a tire is low, add air in short bursts and recheck after each burst.
How do I check tire pressure at a gas station?
Use the station compressor in short bursts. First, remove the valve cap and check the pressure with your gauge. If the tire is low, add a small amount of air, then measure again. This keeps you from overshooting the target pressure while the hose is still attached.
How do I read a tire pressure gauge?
Digital gauges show the PSI on a screen, analog gauges show it on a needle dial, and pencil-stick gauges show it on an extended rod. The key is to keep the gauge seated firmly so the number settles. If it bounces or changes between tries, check the seal before trusting it.
How do I know if my tire pressure gauge is accurate?
A gauge is more believable when it gives close readings on the same tire more than once and agrees with a second gauge. If the number jumps a lot, the chuck hisses for too long, or the seal feels loose, the tool may be off or may not be seating correctly.
What is the correct PSI for my tires?
Use the PSI on the driver-side door jamb sticker first. If that label is missing or unclear, check the owner’s manual. The tire sidewall maximum is not the target pressure. Many passenger vehicles list values around 30 to 35 PSI, but your placard value controls.