How to Tell If Your Lug Nuts Are Swollen
A swollen lug nut is often a chrome-capped factory nut whose outer shell has split, rusted, or expanded enough that the socket no longer fits cleanly; if a six-point socket won’t seat after cleaning, stop and inspect before forcing it. Forcing the wrong tool can round the nut, damage the wheel, or break a stud. This guide shows how to tell swelling from rust, rounding, seized threads, and failed caps, plus when removal is safe at home and when it is a shop job.
What swollen lug nuts look like
A true swollen lug nut often looks wider across the hex than the matching nuts on the same wheel. The corners may look bulged, the flats may look uneven, or the socket may start on the nut and then rock instead of sitting flush. On chrome-capped two-piece nuts, the cap may split or balloon outward while the steel base stays smaller.
That visual change matters more than rust color. Surface rust can make a nut look rough, but it does not always change the hex shape. True swelling changes the fit between the nut and the socket, which is the symptom most drivers notice first.
Signs the hex shape has changed
Check the nut against the other lug nuts on the same wheel. If one hex looks larger, has rounded shoulders, or seems out of line with the rest, treat it as damaged. A socket that fits the other nuts but not this one points to shape change, not just grime.
Look at the wheel face too. If the socket edge has already scraped the paint or aluminum around the hole, the nut may have been forced with the wrong tool before. That can hide the original shape and make the nut appear “swollen” when it is really rounded.
How true swelling differs from rust
Corrosion can make a lug nut look swollen because rust builds under a cap or around the flats. That is common where water, salt, and dirt stay on the fastener, especially in winter climates. But rust alone does not always mean the nut itself has expanded.
If the surface is crusted but the hex still accepts the correct socket after cleaning, the issue is likely corrosion buildup rather than permanent deformation. If the socket still will not seat, the nut, cap, or both may have changed shape.
Why lug nuts appear swollen
Lug nuts can seem swollen for several reasons: corrosion under a chrome cap, a cap that has split and expanded, rounding from the wrong socket, or over-tightening that has deformed the corners. Any of those can make the nut look larger than the others and make the socket slip.
Corrosion and winter road salt
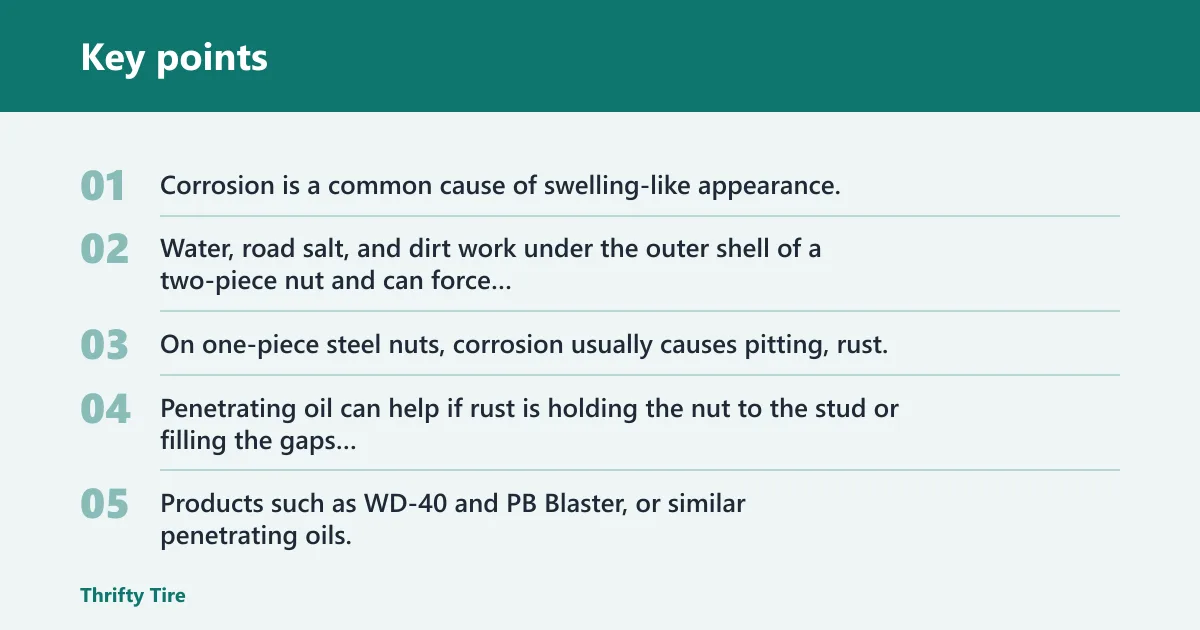
Corrosion is a common cause of swelling-like appearance. Water, road salt, and dirt work under the outer shell of a two-piece nut and can force the cap outward. On one-piece steel nuts, corrosion usually causes pitting, rust, and seizure before it causes a dramatic size change.
Penetrating oil can help if rust is holding the nut to the stud or filling the gaps around the cap. Products such as WD-40 and PB Blaster, or similar penetrating oils, may need about a few minutes to overnight depending on how severe the corrosion is. Oil will not fix a deformed hex.
Two-piece cap failure and rounding
Many swollen-looking lug nuts are chrome-capped factory nuts. The outer shell can split, spin, or expand while the inner nut stays in place behind it. That creates a false oversized look and often makes the socket spin without turning the fastener.
Rounded corners can look similar. Once the flats start to disappear, the nut no longer matches the socket shape well enough to hold. A 6-point impact socket is usually the better choice for damaged or rounded nuts because it grips the flats more securely than a 12-point socket.
Over-tightening and wrong socket damage
Over-tightening can deform the hex and start the swelling look. So can using a socket that is slightly too large, worn, or 12-point on a damaged nut. Each slip removes more material from the corners and makes the fastener harder to save.
A wrong socket can also crack a cap on a two-piece lug nut. After that, the chrome shell may spin while the actual nut stays put. That is a cap failure, not proof that the whole lug nut has expanded.
Lug nut diagnosis table
Use this checklist before you decide to remove anything. The point is to separate true deformation from a cap problem, rust, or a seized thread. If the symptom matches a severe row, stop and move to the next step without forcing the nut.
| Symptom | Likely cause | Risk level | Next step |
|---|---|---|---|
| Socket won’t seat fully on one nut | Hex corners bulged, rounded, or cap expanded | High | Compare to the other nuts; try the correct 6-point impact socket only after cleaning the face |
| Chrome cap spins but the nut does not turn | Two-piece lug nut with failed outer shell | High | Stop forcing it; use a lug nut extractor or take it to a shop for removal |
| Hex corners look flattened | Rounded nut from repeated slip or wrong socket | Medium to high | Use penetrating oil, then a 6-point impact socket or extractor |
| Surface rust only | Corrosion on the outside face | Low to medium | Clean the nut, apply penetrating oil, and test socket fit again |
| One nut looks different from the rest | Mixed hardware, prior replacement, or failed cap | Medium | Inspect all matching nuts on the wheel for the same wear pattern |
| Stud threads visible past the nut | Nut backed off, missing cap, or stripped threads | Medium to high | Check thread condition before removal; inspect the wheel stud after the nut comes off |
| Socket grips, then slips under light force | Rounded flats or undersized damage inside the socket | High | Switch to a slightly smaller 6-point impact socket or extractor |
| Nut feels stuck but shape looks normal | Seized threads or corrosion on the stud | Medium | Use penetrating oil and steady force; do not jump straight to impact force |
| Locking lug nut will not accept the key | Wrong key, damaged key, or damaged locking pattern | High | Stop and verify the key; if it is missing or damaged, go to a shop |
How can you tell the difference?
A swollen lug nut is a shape problem. A stuck lug nut is a movement problem. If the nut still has its original hex but will not turn, that points to seizure on the wheel stud. If the hex is misshapen or the cap is spinning, the fastener itself is damaged.
Swollen nut versus stuck nut
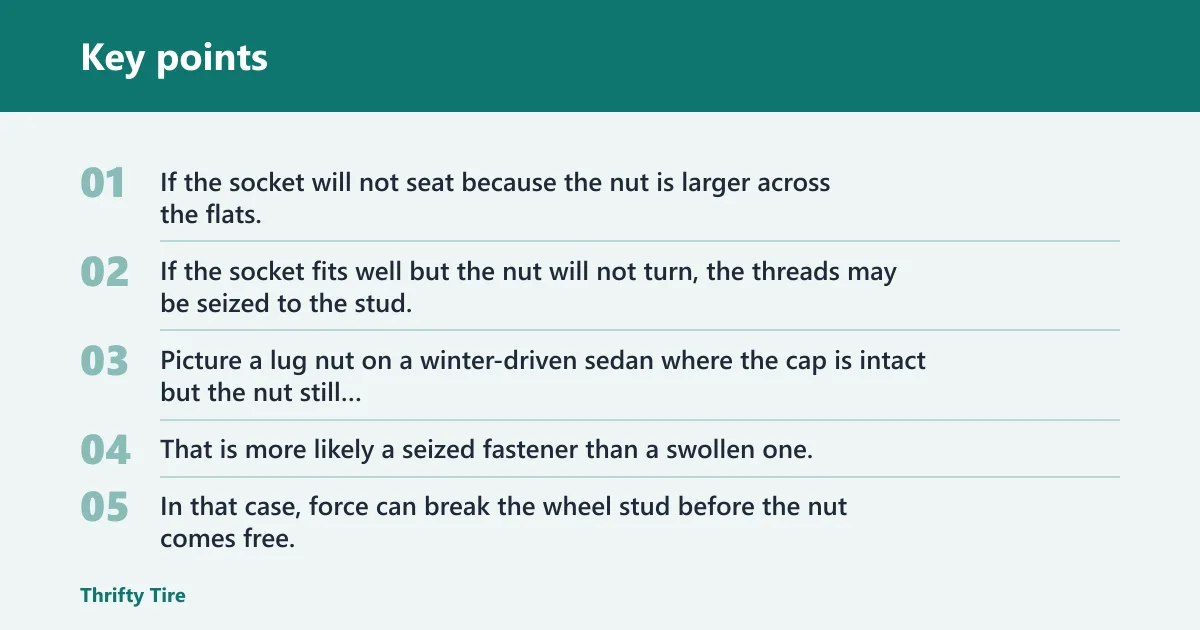
Start with fit, not force. If the socket will not seat because the nut is larger across the flats, the issue is likely swelling, rounding, or cap failure. If the socket fits well but the nut will not turn, the threads may be seized to the stud.
Picture a lug nut on a winter-driven sedan where the cap is intact but the nut still refuses to move after oiling. That is more likely a seized fastener than a swollen one. In that case, force can break the wheel stud before the nut comes free.
Swollen nut versus rounded nut
Rounded nuts usually have corners worn away. Swollen nuts usually look puffed or uneven, often with a cap that has split or lifted. Rounded damage is common after repeated wrong-tool use, while swelling is more often tied to corrosion or cap failure.
Do not assume a socket size change alone proves swelling. A worn 12-point socket may slip on a rounded nut even when the nut has not grown at all. The shape of the flats and corners tells the better story.
Swollen nut versus locking lug nut
Some cars use locking lugs to keep wheels from being stolen. A locking lug nut has a special pattern and needs its matching key or removal method. If that key is missing, a damaged locking nut can look like a swollen one because no standard socket will fit.
Check whether the other wheels use the same hardware style. If only one fastener has a patterned face or a key recess, you may be dealing with a locking lug nut, not a swollen standard nut.
What should you do next?
Decide by risk, not by frustration. If the nut is only rusty and the socket still fits after cleaning, you can often try removal at home. If the nut is visibly deformed, the cap is spinning, or the socket keeps slipping, stop before the damage spreads to the stud or wheel.
When to try removal at home
- Park on a level surface and set the parking brake.
- Chock the wheels so the vehicle cannot roll.
- Clean the fastener face and compare it to the other lug nuts.
- Apply penetrating oil and wait the needed time for the corrosion level.
- Use the correct socket, then switch to a 6-point impact socket if the nut is damaged.
- Use a breaker bar or lug wrench with steady pressure, not jerky force.
If the nut turns cleanly after these steps, remove it and inspect the stud threads. If the nut still slips or the cap spins, stop. More force usually makes the repair harder.
When to stop and call a shop
Stop DIY work if the locking key is missing, the nut has already been badly rounded, or the wheel face is getting damaged by repeated slips. A shop can use a lug nut extractor and careful force with less risk to the wheel and stud.
Suppose one front wheel has two chrome-capped nuts that are split and another nut that is just rusty. That mixed pattern suggests more than one failure mode. A tire shop is the safer move if you cannot identify the exact problem before turning more metal.
Tools for safe diagnosis and removal
The right tools matter more than extra force. Use a penetrating oil to loosen rusted fasteners, a correct-size socket for the initial fit check, a 6-point impact socket for damaged nuts, a breaker bar for controlled torque, and a torque wrench for reassembly. A calibrated torque wrench helps you return the wheel fasteners to the vehicle manual specification.
6-point impact socket and breaker bar
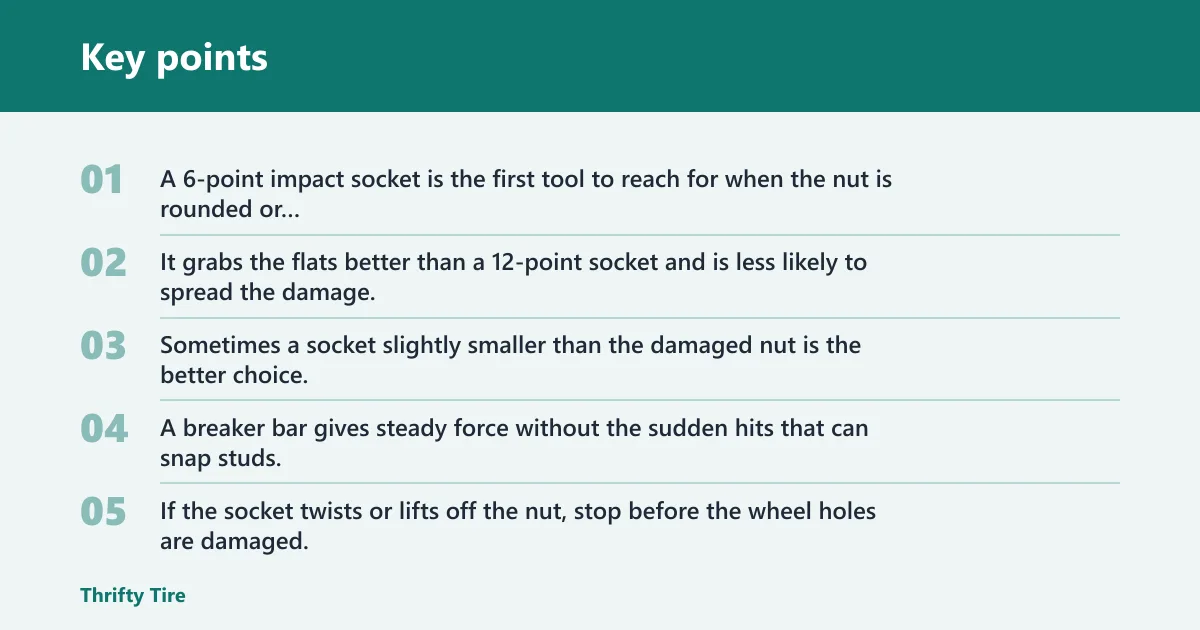
A 6-point impact socket is the first tool to reach for when the nut is rounded or swollen-looking. It grabs the flats better than a 12-point socket and is less likely to spread the damage. Sometimes a socket slightly smaller than the damaged nut is the better choice, but only if it seats fully and does not round the next nut.
A breaker bar gives steady force without the sudden hits that can snap studs. Use it only after confirming the socket fit. If the socket twists or lifts off the nut, stop before the wheel holes are damaged.
Penetrating oil and lug nut extractor
Penetrating oil is for rust, not for rebuilding a deformed nut. Give it time to work. Light rust may respond after 10-15 minutes, while severe corrosion may require several days of repeated oil applications.
If the standard socket still slips, a lug nut extractor can bite into a destroyed fastener and hold it long enough for removal. Pair it with careful force. A rushed pull can crack the wheel face or break the stud.
Torque wrench for reassembly
After the repair, use a torque wrench to reinstall the lug nuts to specification. Vehicle manuals should guide the final torque. The wrench should be calibrated so its reading is reliable.
On some golf carts, the source torque listed is 50 ft/lbs, and the tightening pattern is corner-to-corner. That is a useful reminder for small wheels, but your vehicle may call for a different value. Do not guess.
When is a wheel stud part of the problem?
The wheel stud matters because the lug nut threads onto it. If those threads are stripped, stretched, or cross-threaded, the nut may feel swollen, stuck, or loose at the wrong point. In that case, the stud can be as damaged as the nut and may need replacement too.
Stripped threads and stretched threads
After removal, inspect the stud for flattened threads, shiny pulled areas, or threads that look thinner than the others. If the nut spins without tightening, or if it came off with metal dust on the threads, the stud may be damaged. A nut alone will not solve that.
Do not reinstall a fresh lug nut onto damaged threads and hope for the best. The nut may cross-thread, seize again, or fail to hold the wheel securely.
When the stud needs replacement too
If the stud is bent, the threads are stripped over several turns, or the nut had to be hammered off, it is a good rule of thumb to plan on stud replacement. A wheel fastener that cannot hold correct torque is a safety problem. A shop can replace the stud and then verify the wheel fasteners against the manual spec.
One damaged nut does not always mean the whole set is bad. If the other lug nuts on the wheel still have sharp flats and the same finish, replacing only the failed one may be enough. If the set shows the same splitting, corrosion, or rounding pattern, replace all matching nuts on that wheel or axle so the wear matches and the socket fit stays consistent.
Frequently asked questions
What does a swollen lug nut look like?
A swollen lug nut usually looks wider across the hex than the others, with bulged corners, uneven flats, or a chrome shell that seems lifted or split. The socket may not sit flush. On two-piece designs, the cap can expand or spin while the inner nut stays smaller.
What would cause lug nuts to swell?
Corrosion is the most common reason. Water, salt, and dirt can work under a chrome cap and make it look expanded. Over-tightening, wrong sockets, and failed two-piece caps can also deform the hex or the outer shell so the nut appears swollen.
How can I tell the difference between a swollen lug nut and a stuck one?
Check the shape first. A swollen nut has visible shape change, while a stuck nut may still look normal but refuse to turn. If the socket will not seat, think deformation or cap failure. If the socket fits well but the nut will not move, think seizure on the stud.
Can swollen lug nuts be removed without damaging the wheel?
Sometimes, yes, if you stop early and use the right method. Penetrating oil, a correct 6-point impact socket, and steady force can remove a lightly damaged nut. If the cap spins, the corners are gone, or the socket keeps slipping, the wheel is at higher risk and a shop is safer.
When should I stop DIY and go to a tire shop?
Stop if the locking key is missing, the nut is badly rounded, the cap is spinning, or the socket is chewing the wheel face. Also stop if removal effort seems to be bending the stud. A shop can use extractor tools and replace damaged hardware without multiplying the damage.
Do I need to replace swollen lug nuts?
Yes, if the nut is truly deformed, the cap has failed, or the socket no longer fits correctly. If several matching nuts show the same wear, replace the full matching set on that wheel or axle. Reinstall with the vehicle’s specified torque using a calibrated torque wrench.