Brake Pads: How to Choose, Check and Replace Them
Choose brake pads by matching your car’s specs and driving, replace them when friction material is 3 mm or less, and plan rotors or hardware too if you have scoring, pulsation, heat spots, or seized clips. Ignore worn or mismatched pads and stopping distances can grow while rotors wear faster, overheat, or get noisy. This guide covers pad materials, quick wear checks through the wheel, and how to decide between pads only and a fuller brake job.
Most brake choices get simpler when you sort them into three decisions: which pad material fits how the car is used, whether the pads are worn enough to replace, and whether rotor or hardware condition turns a pad swap into a larger service. That matters because front and rear pads often wear at different rates, inner pads can wear faster than outer pads, and a quiet low-dust pad is not always the right pick for towing or repeated downhill braking.
Start with the right brake pad type
Match pad material to driving use
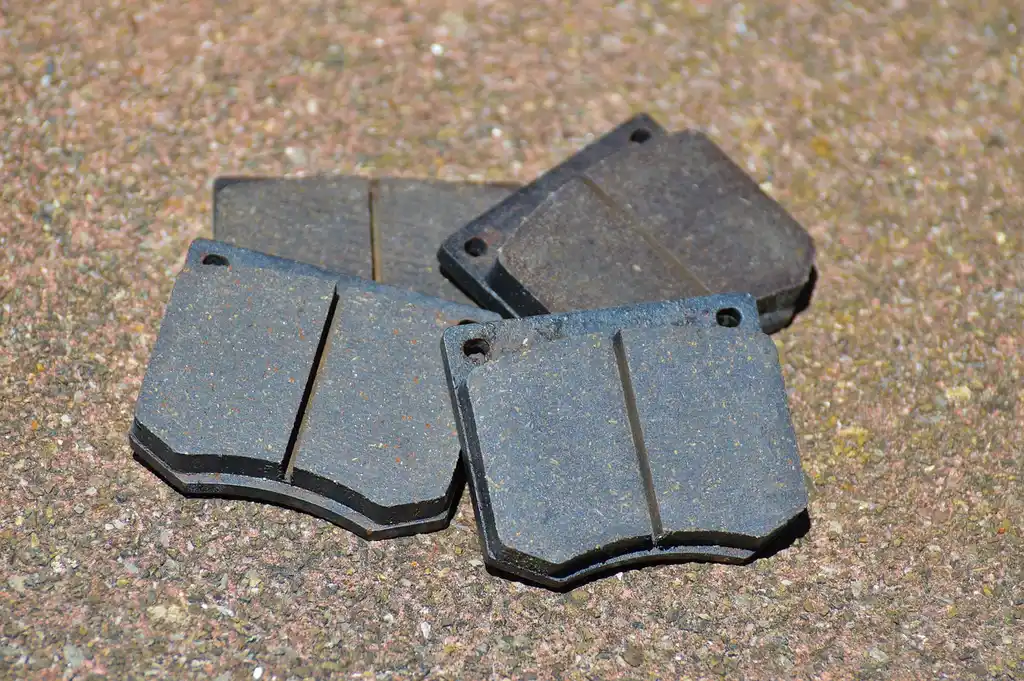
Brake pads turn motion into heat as friction material presses against the rotor. The key here is not the basic function, it is matching the compound to the job.
Ceramic pads usually fit cars that spend most of their time on commuter routes, steady suburban traffic, and long highway runs, especially when low dust and low noise matter. Ceramic brake pads is often described as lasting 50,000 to 70,000+ miles. That longer range helps when the car sees predictable braking and the pads rarely face repeated heavy heat loads.
Semi-metallic pads fit heavier vehicles, regular hill routes, dense stop-and-go driving, towing, or repeated hard stops from speed. Semi-metallic brake pads is often described as lasting 30,000 to 50,000 miles. They handle heat well, but the tradeoff is often more dust, more rotor wear, and more noise in some applications.
Organic pads are usually the budget option and can feel acceptable on lighter cars with gentle use. Organic brake pads is often described as lasting 25,000 to 35,000 miles. They usually wear faster and are a weaker match for heavy traffic, steep grades, or loaded vehicles.
Noise, dust, cold bite, and heat tradeoffs
If noise matters most, ceramic is usually the first place to look. If the car sees mountain descents, a trailer, or dense stop-and-go use, semi-metallic is often the safer pick because heat control matters more than wheel dust.
Cold bite matters too. Some performance-leaning compounds want more temperature before they feel consistent, which is a poor fit for a commuter that mostly sees short, low-speed trips. OE-style pads are often the better choice because the car’s brake balance, ABS tuning, and noise targets were built around them.
What to check before buying
Check the owner’s manual, OE pad specification, and the exact brake package on the vehicle. Trim level, wheel size, engine option, and tow package can change front or rear pad shape, hardware, and rotor size.
Front and rear pads do not always need the same priority. A front axle that handles most of the heat may need a more heat-tolerant compound, while the rear axle may be chosen more for quiet operation and steady everyday feel.
How do you choose the right brake pads for your car?
Choose pads by vehicle weight, brake system design, and actual use, then narrow the options by how much noise and dust you can accept. Daily commuting often points toward OE-style ceramic, while towing, hills, heavy traffic, or a heavier vehicle often push the choice toward semi-metallic pads. Front and rear axles may need different priorities.
Choose by use, not marketing
Start with how the car is driven most days, not the rare trip. A crossover used for school runs and highway commuting should usually stay close to the factory pad type. A half-ton truck that spends weekends towing should move toward more heat tolerance even if it stays quiet in light use.
Say your midsize SUV spends five days a week in flat suburb traffic, then once a month carries a full load on a long interstate trip. That still leans toward OE-style ceramic unless the brakes regularly smell hot or the route includes long grades. Change the heat load and the pad choice changes with it.
When OE-style pads make more sense
OE-style pads match the original rotor material, caliper design, and stability-control tuning. That is why a quiet commuter rarely gains much from a more aggressive compound chosen only because the box sounds stronger.
A brake service package can change the value calculation. One advertised package lists brake pads starting at $79.88, while one passenger-car brake package is advertised at $139.88 per axle before discount. Another online-only offer includes brake pads and rotor labor for $119.88 per axle, and that offer excludes drum brake services. If a shop advertises a lifetime warranty, read the line items carefully: one advertised package sells brake pads with a lifetime warranty, but the warranty covers replacement brake pads and installation labor is extra.
How long do brake pads usually last?
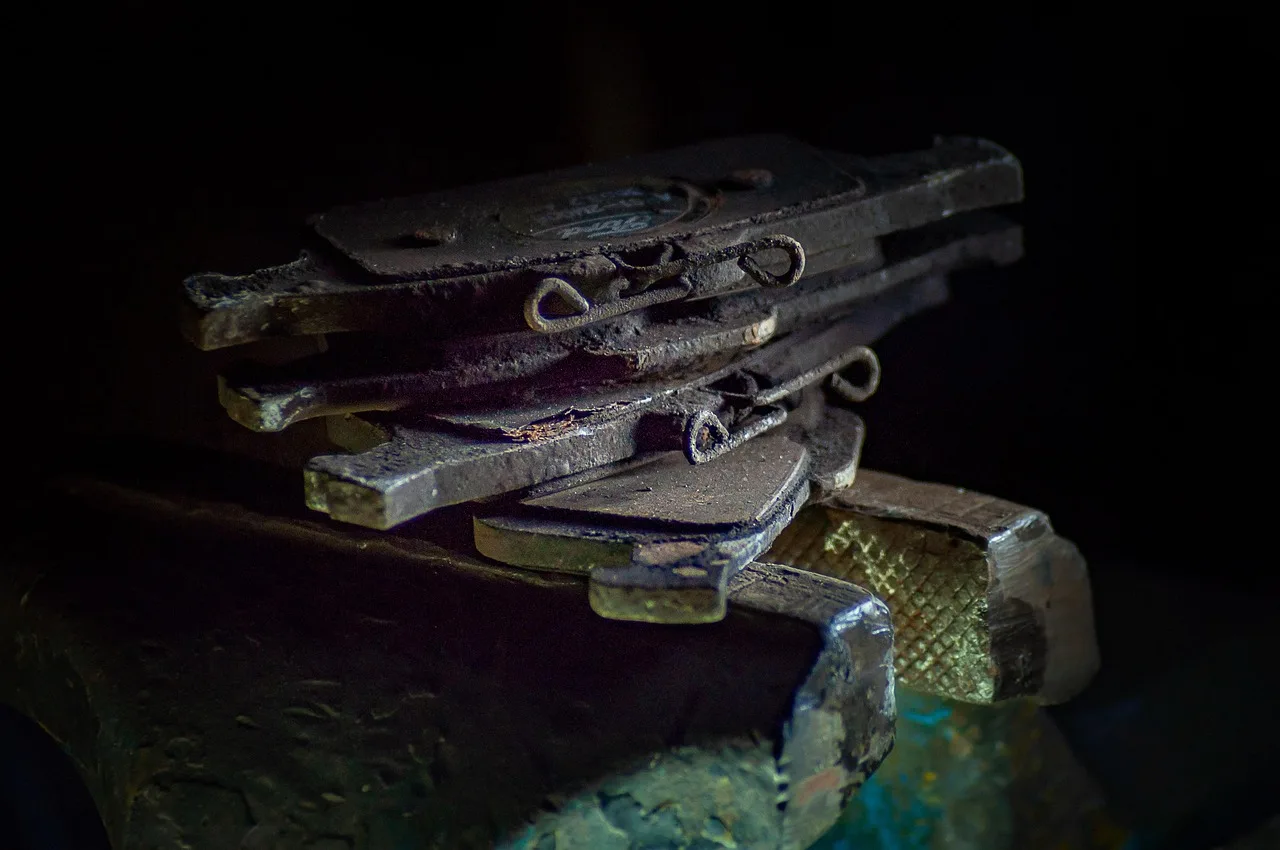
Brake pad life varies by axle load, driving conditions, and pad material, so mileage is only a starting point. Many drivers replace brake pads somewhere around 40,000 miles, but front pads often wear faster than rear pads, and hills, traffic, towing, and repeated hard stops cut that number down.
Why front and rear pads wear differently
Front brakes usually do more work during deceleration because weight shifts forward under braking. On many cars, that means the front pads wear first and often wear faster. Rear pads can still wear surprisingly quickly on some vehicles because electronic stability systems, rear brake bias, and electronic parking brake designs use the rear brakes more than older drivers may expect.
Do not assume the axle with the noisier brakes is the more worn one. Rear pads can be thinner than fronts even when the front axle feels more active under braking. Inner rear pads are also easy to miss without a direct look.
What shortens pad life
City traffic, short trips, downhill routes, heavy vehicles, and towing all add heat cycles. Heat is the wear multiplier. Repeated moderate stops can be harder on pads than fewer high-speed highway miles.
Picture a compact sedan used for 12 miles of stoplights each morning and parked again by lunch. That car may go through front pads much sooner than another sedan that covers twice the distance almost entirely on open highway, even if both use the same pad material.
Why lifespan never decides replacement by itself
Mileage does not show pad thickness, rotor condition, or left-right imbalance. Use mileage to plan inspections, not to delay them. A pad at 8 mm after a hard year still has time left; a pad at 3 mm with a trip ahead does not.
How can you check brake pad thickness?
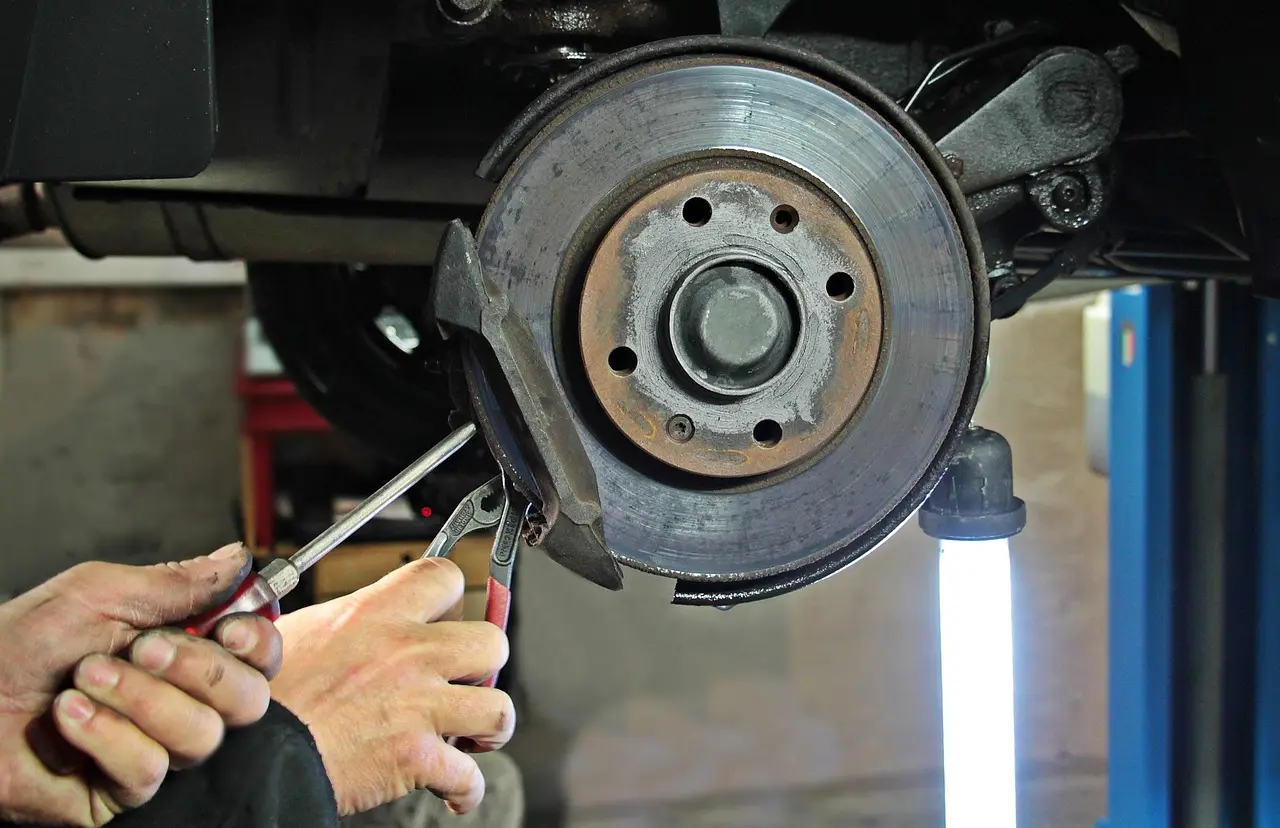
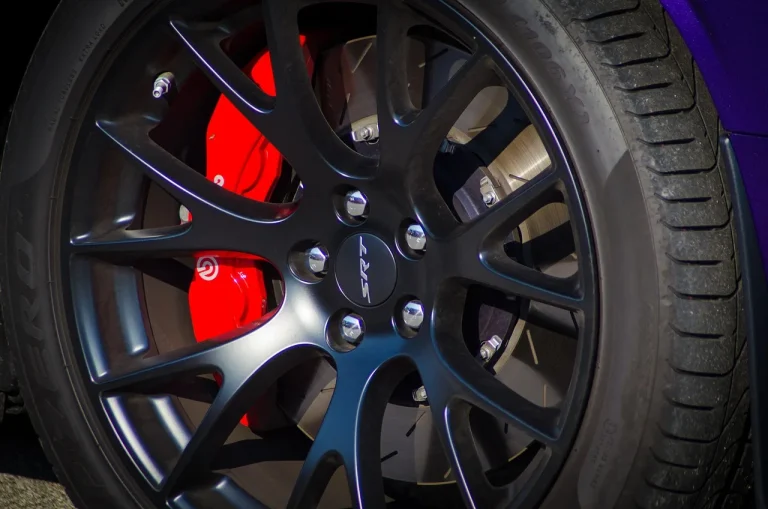
Brake pad thickness can often be checked through the wheel by looking at the outer pad through open spokes and the caliper window. The goal is to judge the friction material only, not the steel backing plate. If the view is blocked or inner wear is suspected, wheel removal is the reliable next step.
Field check through the wheel
- Park on level ground, turn the steering for a better view of the front brakes if needed, and use a flashlight.
- Look through a wide wheel spoke at the caliper area, not the rotor face alone.
- Find the outer pad. The friction material is the darker block pressed against the rotor; the backing plate is the thinner steel section behind it.
- Estimate the thickness of the friction material, excluding the backing plate.
- Compare the visible left and right outer pads for any obvious difference.
- Look through any opening at the inner pad. If it cannot be seen, do not assume it matches the outer pad.
What wheel and caliper designs let you see
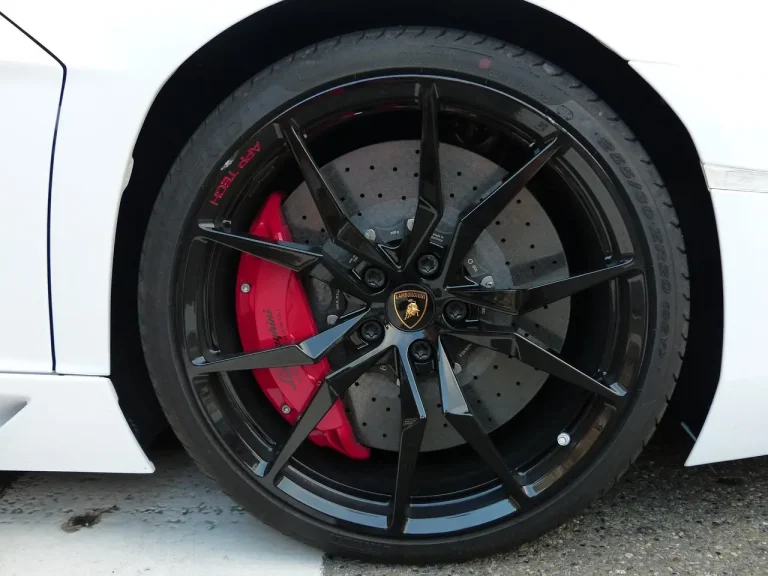
Large open-spoke wheels often give a decent view of the outer pad. Small openings, full wheel covers, fixed calipers with less exposed pad edge, and heavy brake dust make visual estimates harder. A caliper inspection window can help, but not every design gives a clean line of sight to both pads.
A common first-timer mistake is measuring the backing plate and friction material together. That can make a nearly worn pad look acceptable. The steel plate is not usable pad material and does not count toward the wear decision.
When wheel removal is the only reliable check
Remove the wheel if the inner pad cannot be seen, the outer pad looks tapered, the car pulls, one side heats up more, or the rotor face looks grooved. Wheel-off inspection is also the better time to check slides, hardware, and rotor surfaces closely.
Inspect Brake Pads Through the Wheel Spokes
You can often check brake pad wear without removing the wheel by looking through the spokes and comparing the visible pad material to the backing plate. The supporting guide explains what a healthy pad looks like, why about 3 mm of material is a practical warning point, and when visibility is too limited to trust the inspection.
This matters because thin pads can damage rotors, increase stopping distance, and turn a simple pad job into a more expensive repair. For a step-by-step look at what to check from the outside and when the wheel needs to come off, see brake pad inspection.
Brake pad decision matrix
Decision table
| Driving style | Vehicle type | Symptoms | Pad thickness | Rotor condition | Recommended action |
|---|---|---|---|---|---|
| Mostly highway commuting | Passenger car or small crossover | No noise, even braking | More than 5 mm | Smooth face, no pulsation | Keep current pads, recheck at next tire rotation or service interval. |
| Daily city traffic | Sedan, crossover, minivan | Light squeal at low speed | 4 to 5 mm | Usable face, minor marks only | Plan pad service soon; inspect inner pads and hardware before a long trip. |
| Mixed driving with hills | Crossover or SUV | Heat smell after descents, more dust | Around 3 mm | Check for hot spots or scoring | Replace pads now; inspect rotors closely and choose a heat-tolerant pad if the use pattern is normal for the vehicle. |
| Towing or repeated hard stops | Truck, full-size SUV, loaded van | Fade, squeal, long stops | At or below 3 mm | Inspect for scoring, thickness loss, heat marks | Replace pads; measure rotors and expect hardware inspection or replacement at the same time. |
| Any driving pattern | Any vehicle | Grinding, strong pulsation, pull, one wheel hotter | Unknown or uneven | Possible grooves, cracks, rust lip, slide issues | Do not assume pads only. Remove wheels, inspect inner and outer pads, slides, clips, and rotors; book full brake service if defects are confirmed. |
How thin is too thin for brake pads?
Brake pads are often considered at the practical replacement point when the friction material is about 3 mm or less. Waiting past that leaves little margin for heat, travel, or uneven wear, especially on the inner pad. At about 4 to 5 mm, replacement may still make sense before towing, mountain driving, or rotor service.
Why 3 mm is the working threshold
At 3 mm, there is not much friction material left to absorb heat or wear evenly. That is why a visible 3 mm pad should trigger replacement planning now, not later.
Earlier replacement can also make sense. If the rotors are coming off for service, if the car is heading into winter mountain travel, or if the visible pad is 4 to 5 mm but the inner pad may be thinner, waiting saves little and risks rotor damage.
Why inner pad thickness matters
The inner pad can wear faster when slide pins stick, the piston does not release cleanly, or hardware binds. A vehicle can show an outer pad that looks serviceable through the wheel while the inner pad is nearly done. That is one reason a wheel-off inspection matters when wear looks uneven or braking feel changes.
What signs show brake pads are worn out?
Worn brake pads often announce themselves with squeal, reduced stopping confidence, or visible low friction material, but each symptom points to a different decision. Wear tabs can squeal before the pad is fully spent, while grinding suggests failure-stage wear that may already be damaging the rotor.
Noise clues and wear indicators
A squeal can come from a wear indicator tab contacting the rotor, from shim movement, or from glazing and vibration. Treat squeal as a prompt to inspect, not as a diagnosis by itself.
If the pad design has an indicator slot, a nearly disappeared slot can hint at low remaining material. Grinding is more serious. It often means the friction material is gone or close to gone, and metal contact may be cutting into the rotor.
Feel and behavior clues
Longer stopping distances, a pull to one side, or a pedal that feels uneven can point to pad wear, but they can also point to rotor or caliper trouble. Pulsation during braking often pushes the diagnosis toward rotor condition rather than pad thickness alone.
Look for left-right differences too. If one front wheel has much more dust or heat than the other, pad wear may be uneven because of a sticky slide pin or piston.
Do you need new rotors when you change brake pads?
New rotors are not automatic with every pad change, but rotor condition decides the answer. Pads alone can work when rotor thickness is within spec and the faces are smooth enough for proper contact. Scoring, hot spots, cracks, heavy rust, or strong pulsation make reuse a poor bet.
When pads only can be enough
Pad-only replacement is reasonable when the rotors are within minimum thickness, the braking surface is even, and there is no strong pedal pulsation, deep groove pattern, crack, or severe rust scale. In that case, new pads can bed in correctly and wear evenly.
When rotor work makes more sense
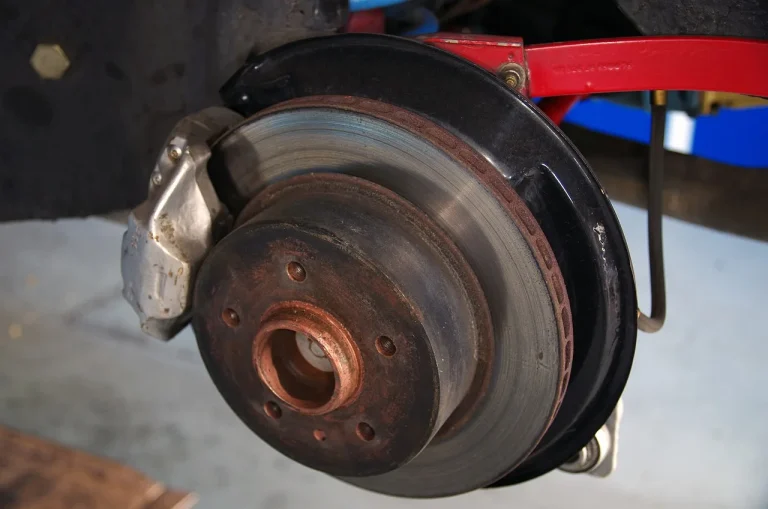
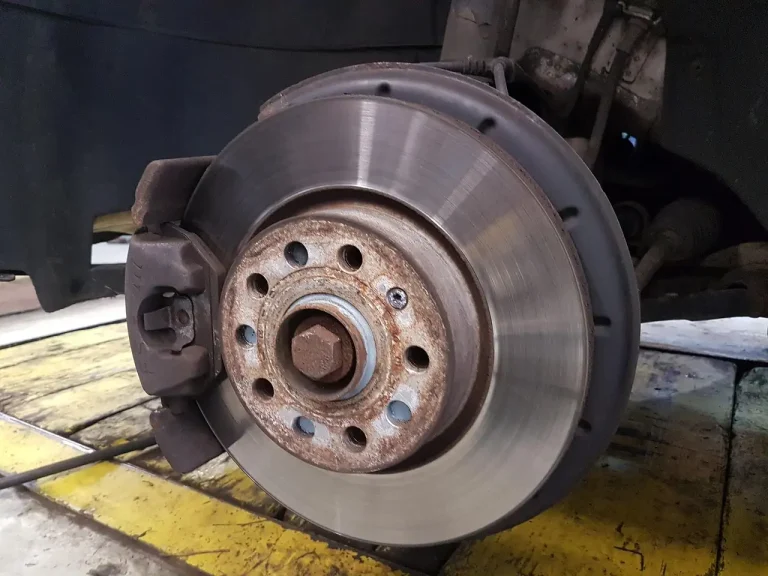
Inspect the rotor faces for scoring, blue or dark heat spots, rough ridges, cracks, and rust on the swept area. A badly marked rotor can make new pads noisy, reduce contact area, and cause uneven bedding from the start.
Suppose the front pads are at 3 mm and the rotor face shows clear grooves you can catch with a fingernail, while the pedal also pulses during moderate stops. That combination points past pads alone and toward rotor measurement, and likely replacement, because the surface condition and feel problem line up.
Resurfacing vs replacement
Resurfacing can restore a usable rotor if enough thickness remains after machining and the rotor is otherwise sound. In practice, replacement is often smarter when thickness margin is small, corrosion is heavy, or labor overlap makes machining a weak value.
Rotor labor matters in service quotes. Some packages separate the pad price from rotor labor, and one online offer explicitly includes brake pads and rotor labor per axle. Read that detail before comparing prices because the cheaper line item may not include the work needed to make new pads perform correctly.
What brake hardware should be replaced with pads?
Brake hardware should be replaced when clips, shims, springs, or anti-rattle parts are bent, corroded, worn at contact points, or not included in the new pad’s approved reuse plan. Hardware that binds pad movement can cause noise, taper wear, drag, and a quick comeback even when the new pads are good.
Clips, shims, springs, and anti-rattle parts
Pad abutment clips guide pad movement. Shims help control vibration. Springs and anti-rattle parts keep tension where the system expects it. If these parts are rusty, distorted, or packed with corrosion underneath, the pad can stick instead of sliding freely.
Some pad kits include new hardware; some do not. If new clips or shims come with the pads, that usually signals they are intended service parts rather than lifetime parts. Reuse only when the service procedure allows it and the pieces remain clean and undamaged.
Slide pins and uneven wear
Uneven inner-to-outer wear, taper wear on a single pad, or a hotter wheel after driving can point to seized slide pins, a sticking caliper piston, or hardware binding. That is why hardware is a decision point, not an afterthought.
Reset considerations
Rear brakes on some vehicles require an electronic parking brake service mode before piston retraction. Forcing the piston back without the right procedure can damage components. Also watch brake fluid reservoir level when compressing pistons; pushing fluid back into the system can raise the level.
What tools do you need to replace brake pads?
Brake pad replacement needs more than sockets and a jack because the job also includes safe lifting, piston compression, thickness checks, and hardware inspection. Basic pad swaps can be simple, but seized fasteners, electronic parking brakes, rotor defects, or uneven wear patterns are signs to stop and book service.
Basic hand tools and lifting equipment
- Jack and jack stands rated for the vehicle
- Lug wrench or impact-rated socket setup
- Socket set, ratchet, and common hex or Torx bits as required
- Torque wrench for wheel and caliper fasteners
- Flashlight and gloves
Brake-service tools
- Caliper piston compressor or disc-brake spreader
- Rear caliper wind-back tool where required
- Brake cleaner and approved lubricant for slide points where specified
- Hook or support for the caliper so the hose is not strained
Measuring and inspection tools
- Pad gauge or ruler for a quick friction-material estimate
- Caliper or micrometer for more exact checks
- Rotor measuring tools where rotor reuse is in question
When to stop
Stop the DIY plan if the rotor is cracked, the piston will not retract correctly, the electronic parking brake procedure is unclear, or one side shows a major wear difference. Those are diagnosis problems, not simple parts-swap problems.
Frequently asked questions
Can I replace brake pads without replacing rotors?
Yes, if the rotors are within thickness spec, the braking surfaces are smooth enough for full pad contact, and there is no strong pulsation, cracking, or deep scoring. Pads alone are a poor choice when the rotor face is damaged or the brake feel already points to rotor trouble.
How do I know if my brake pad wear is uneven?
Uneven wear shows up when inner and outer pads differ sharply, one pad is tapered, or left and right sides wear at different rates. That pattern often points to seized slide pins, a sticking caliper piston, hardware binding, rotor issues, or installation problems rather than normal pad aging alone.
What are the signs my brake pads are worn out?
Squeal from a wear tab, visible low friction material, longer stopping distances, and grinding are the main signs. Grinding is the urgent one because it can mean the friction material is gone. Pulling, vibration, or a rough pedal can also appear, though those often involve rotor or caliper faults too.
How can I check brake pad thickness without taking the wheel off?
Use a flashlight and look through an open wheel spoke at the caliper window, then identify the friction material between the rotor and the steel backing plate. This works best on open-spoke wheels and visible outer pads. If the inner pad cannot be seen, wheel removal gives the more reliable answer.
When should brake pad clips and hardware be replaced?
Replace hardware when clips, shims, springs, or anti-rattle parts are rusty, bent, worn where pads slide, or included as new parts in the pad kit. Bad hardware can keep pads from moving freely, leading to noise, drag, and uneven wear even if the pads themselves are new.