Engine Oil Guide: How to Choose, Check, and Change It
Use the oil grade, viscosity, and service spec listed in your owner’s manual; check the dipstick on level ground after the engine sits long enough for the oil to drain back, and change the oil if it’s overdue by time or mileage. The wrong oil, or a bad level reading, can speed engine wear, increase oil consumption, and trigger warning lights. This guide shows you how to choose the correct oil, check level accurately, and decide between a top-up, a full change, or an inspection.
Start with the owner’s manual
Where to find oil type, capacity, and interval
Your owner’s manual gives the oil type, oil capacity, service interval, and any severe-duty schedule. It may also require a manufacturer-approved oil specification in addition to the SAE viscosity grade. That approval matters more than the brand on the bottle.
Check three items before you buy anything: the required spec, the viscosity grade, and the refill capacity. Do not guess capacity from a similar car or a generic online chart. Engines with the same displacement can use different sump sizes, filters, and oil levels.
Manufacturer approvals vs. SAE viscosity grade
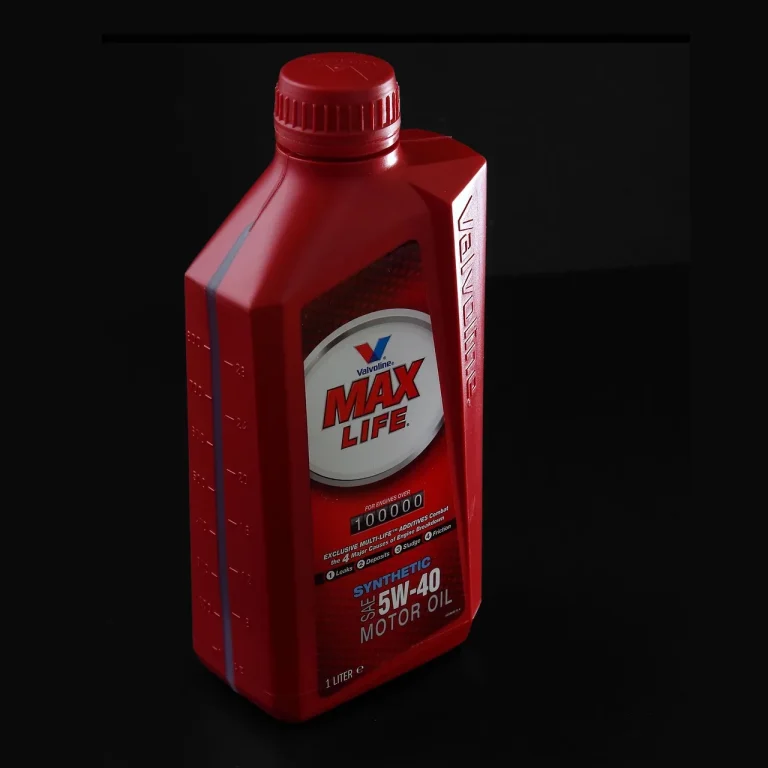
A label such as 5W-30 or 10W-40 answers only part of the question. The manual may also require a vehicle-maker approval or a stated performance standard. If the manual requires full synthetic or a specific approval, treat that requirement as fixed.
The viscosity grade tells you how the oil flows at startup and how thick it stays at operating temperature. The first number, before the W, refers to cold-weather flow. The second number refers to viscosity at operating temperature.
Normal vs. severe-duty service schedules
Many manuals split maintenance into normal and severe-duty service. Severe duty often means repeated trips short enough that the engine rarely gets fully hot, heavy stop-and-go traffic, frequent idling, towing, dusty roads, and winter driving. A car that rarely gets a long fully warmed-up run usually belongs on the harsher schedule even if yearly mileage is low.
Do not assume the longest interval in the manual applies to your car. If your driving matches the severe schedule, follow the shorter interval.
📊 How a Car Works says multigrade oils are rated with two numbers, such as 10W40. Source: Howacarworks.
How do you choose the right engine oil?
Choose oil in this order: match the manufacturer-required service spec first, match the SAE viscosity grade second, and then choose between synthetic and conventional only if the manual allows both. After that, use local temperatures, your driving pattern, and engine condition to choose within the manual’s approved options.
Choose by spec before brand or price
If the manual calls for a specific approval, the bottle needs to show that approval clearly. A cheaper oil with the wrong approval is the wrong oil. A more expensive oil without the required approval is also the wrong oil.
This matters most on newer engines with tighter emissions controls and turbocharger demands, but older engines can also require a certain additive package or viscosity range. Check the manual before every oil purchase, because trim, engine code, and model year can change the requirement.
How viscosity grades work
Viscosity grades make more sense when you split them into cold-start behavior and hot operation. In 5W-30, the 5W means easier cold flow than a higher first number. The 30 describes how thick the oil stays after the engine reaches temperature.
Temperature matters, but only within the viscosity grades your manual lists. In colder areas, use the lowest winter rating the manufacturer approves for your engine. Some manuals require one viscosity year-round and do not offer seasonal switching. In hot weather, do not jump to a thicker grade unless the manual lists that grade for your vehicle.
Synthetic vs. conventional in practical terms
Synthetic oil is commonly recommended for newer engines and is often mandatory when the manual requires full synthetic. It usually costs more than conventional oil. Conventional oil is often the lower-cost choice for older or simpler engines when the manual permits it.
The practical question is not which oil sounds better. The real question is whether your engine requires full synthetic, allows more than one oil type, or has an approval that only certain products meet. If both types are allowed, cost and service pattern can help you decide.
Climate, mileage, and engine age
Climate affects cold starts, so the first viscosity number matters most on winter mornings. High mileage and engine age matter differently. An older engine with stable oil use can often stay on the manual’s listed grade. An older engine with leaks or heavy consumption needs diagnosis before any viscosity change.
Vehicle age alone does not set the correct oil-change interval. Follow the interval and any severe-service schedule in your owner’s manual, because requirements vary by engine design, oil specification, and driving conditions.
How often should you change engine oil?
Change oil by the owner’s manual and the oil-life monitor, then shorten the schedule when your driving fits severe-duty use. Time still matters if mileage stays low. Repeated cold starts, trips too short to fully warm the oil, long idle time, dusty roads, towing, and freezing weather can shorten oil life faster than steady highway driving.
Fixed intervals vs. oil-life monitor readings
Many newer cars do not rely on a simple fixed mileage reminder. Consumer Reports says many cars have a built-in service minder that signals when an oil change is needed. These systems estimate service life from operating conditions rather than measuring oil level.
Oil-life systems can track mileage, idle time, engine temperatures, trip times, engine loads, and starts and stops. That is why the monitor may call for service earlier after weeks of traffic and short errands than after the same mileage of highway driving.
Why severe use shortens service life
Short trips are hard on oil because the engine may not stay hot long enough to drive off moisture and fuel dilution. Stop-and-go traffic adds idling and heat cycles. Dust raises contamination risk. Towing and heavy loads increase heat and stress.
Use your manual’s severe-service schedule and the oil-life monitor when these conditions apply.
When to check between changes
Interval and level are separate issues. The oil-life monitor estimates service life; it does not replace manual level checks. Castrol says to check engine oil every 1,000 miles. The same source says to check oil at least once a month or every other gas fill-up. (Consumerreports)
Suppose your commute is three miles each way and the car sits outside in freezing weather. Even with low monthly mileage, that pattern points to the shorter service schedule and more frequent level checks.
Oil action decision matrix
Which oil action should I take?
| Symptom | Likely cause | Immediate action | When to stop driving |
|---|---|---|---|
| Low dipstick reading | Normal consumption, incomplete previous fill, small leak, or oil burning | Confirm the reading on level ground with the engine off and settled; add the correct oil in small amounts, then recheck | Stop if the level is very low, the oil pressure light is on, the engine knocks, or the level drops again soon after topping up |
| Oil light | Low oil pressure, very low oil level, failed sender, or internal engine problem | Pull over safely, shut the engine off, and check the level after it settles | Stop driving immediately if the oil pressure warning remains on, the engine is noisy, or the level is low and cannot be restored safely |
| Dark oil | Normal detergent action, soot, age, or contamination depending on engine type and service pattern | Judge it by interval, monitor status, dipstick level, smell, and engine behavior rather than color alone | Stop only if dark oil is paired with metallic glitter, warning lights, severe noise, or obvious contamination |
| Fuel smell | Fuel dilution from repeated short trips, rich running, or a mechanical fault | Limit driving, check the level, and schedule diagnosis; a full oil change may be the safer call if the smell is strong | Stop if the oil level rises unexpectedly, the engine runs poorly, or the smell is strong enough to suggest significant dilution |
| Burning smell | Oil on hot exhaust parts, leak onto the engine, or overheating oil | Park safely, inspect for visible leaks and smoke, and check the level once the engine cools | Stop if smoke is visible, oil is reaching hot exhaust components, or the smell appears with an oil warning light |
| Visible leak | Loose filter, damaged drain-plug washer, oil-pan issue, gasket leak, or seal leak | Check the dipstick, look for active dripping, and inspect around the filter and drain plug | Stop if there is a puddle, active dripping, a sudden level drop, or oil on the exhaust or undertray |
Engine oil table
| Driving pattern | Service approach |
|---|---|
| Short trips | Use the severe-duty interval in the manual, watch for fuel smell, and check level more often |
| Highway | Follow the normal interval if the manual and oil-life monitor agree and oil use stays stable |
| Stop-and-go | Treat it as harder service because of idling and heat cycles; do not stretch intervals |
| Dusty | Use the severe schedule, inspect for contamination risk, and keep refill oil and filter fitment exact |
| Cold weather | Stay within the manual’s approved winter viscosity options and expect more benefit from frequent level checks |
How do you check engine oil level correctly?
Check the dipstick on level ground with the engine off after the oil has drained back, and use the correct dipstick marks for your engine. A sloped surface, a rushed hot check, or an overfill can create a false reading and send you the wrong way.
Park level and let the engine settle
Level ground matters because oil pools to one side on a slope. The same source recommends checking oil with the engine cold and waiting at least 20 minutes after use. That gives oil time to drain into the pan instead of clinging to internal engine parts.
If the manual gives a different procedure, follow the manual. Some vehicles specify a warm check after a set wait, but most dipstick checks are simplest with a cool engine and a level parking spot.
How to read the dipstick
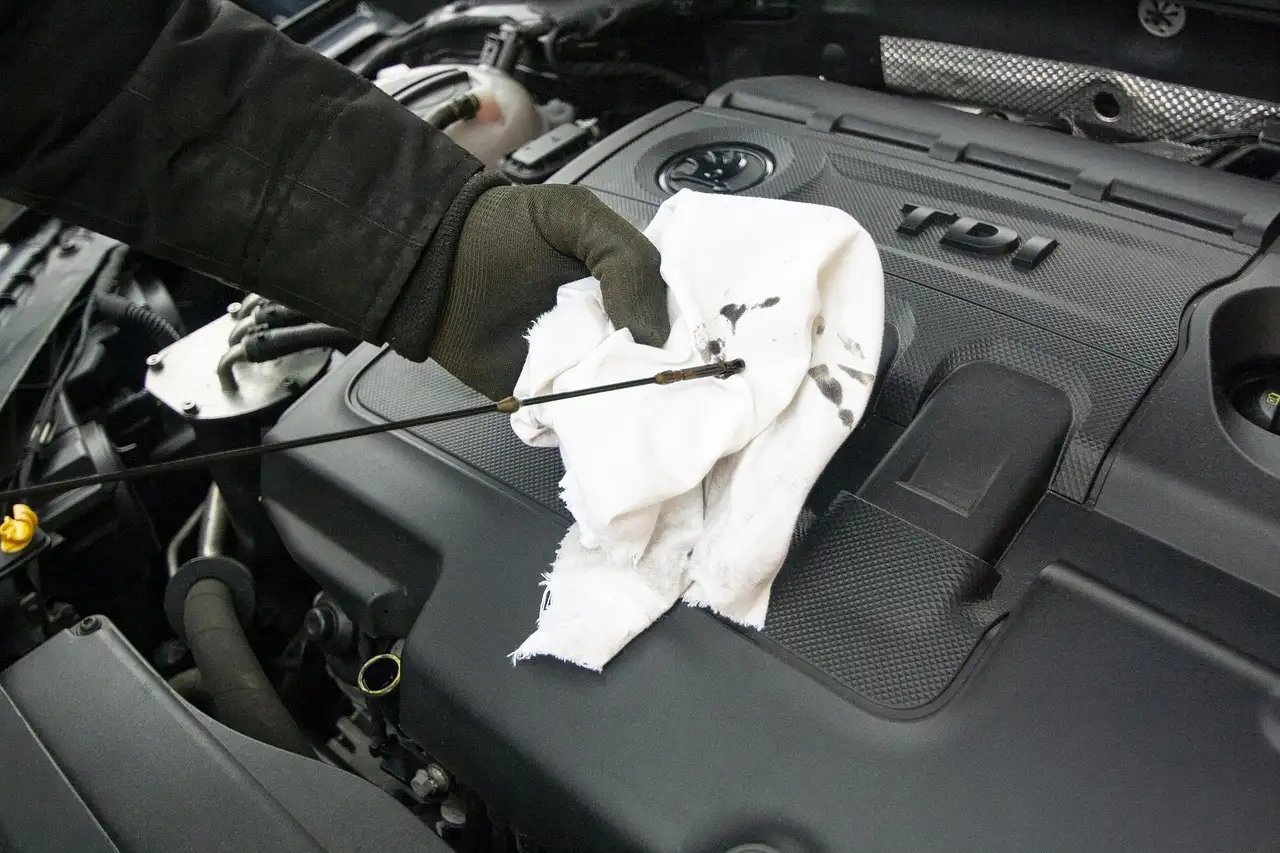
Pull the dipstick, wipe it clean, reinsert it fully, then pull it again and read the level against the marked range. If one side looks smeared and the other side is clear, trust the clearer side. The reading should sit between the minimum and maximum marks.
Picture a sedan parked with its right wheels on the curb. The dipstick can read low even when the sump is full. Move to flat pavement before adding oil, or you may create an overfill problem that was never there.
Mistakes that cause bad readings
Common mistakes include checking too soon after shutdown, checking on a slope, reading the wrong side of the dipstick, confusing transmission and engine dipsticks on older vehicles, and topping up before confirming the correct oil. Overfilling is another common error.
A frequent beginner mistake is pouring in a full bottle because the dipstick looked near the low mark on a still-hot engine. The safer move is to add a small amount, wait, and recheck.
Can you top up engine oil instead of changing it?
A top-up is reasonable when the oil level is low but the oil is not overdue, the correct oil is available, and there are no warning lights, strong smells, smoke, or leak signs. Repeated low readings, though, point to oil use or leakage that needs diagnosis.
When a top-up makes sense
If the dipstick is below the full mark but still within the safe range, adding the correct oil can restore level without forcing an immediate full change. This is common between scheduled services, especially on engines that consume some oil as they age.
Top up only with an oil that matches the required spec and viscosity grade, or is compatible under the manual’s guidance. If you are unsure which oil is already in the engine, the safer choice is to confirm before mixing products.
When repeated low readings need diagnosis
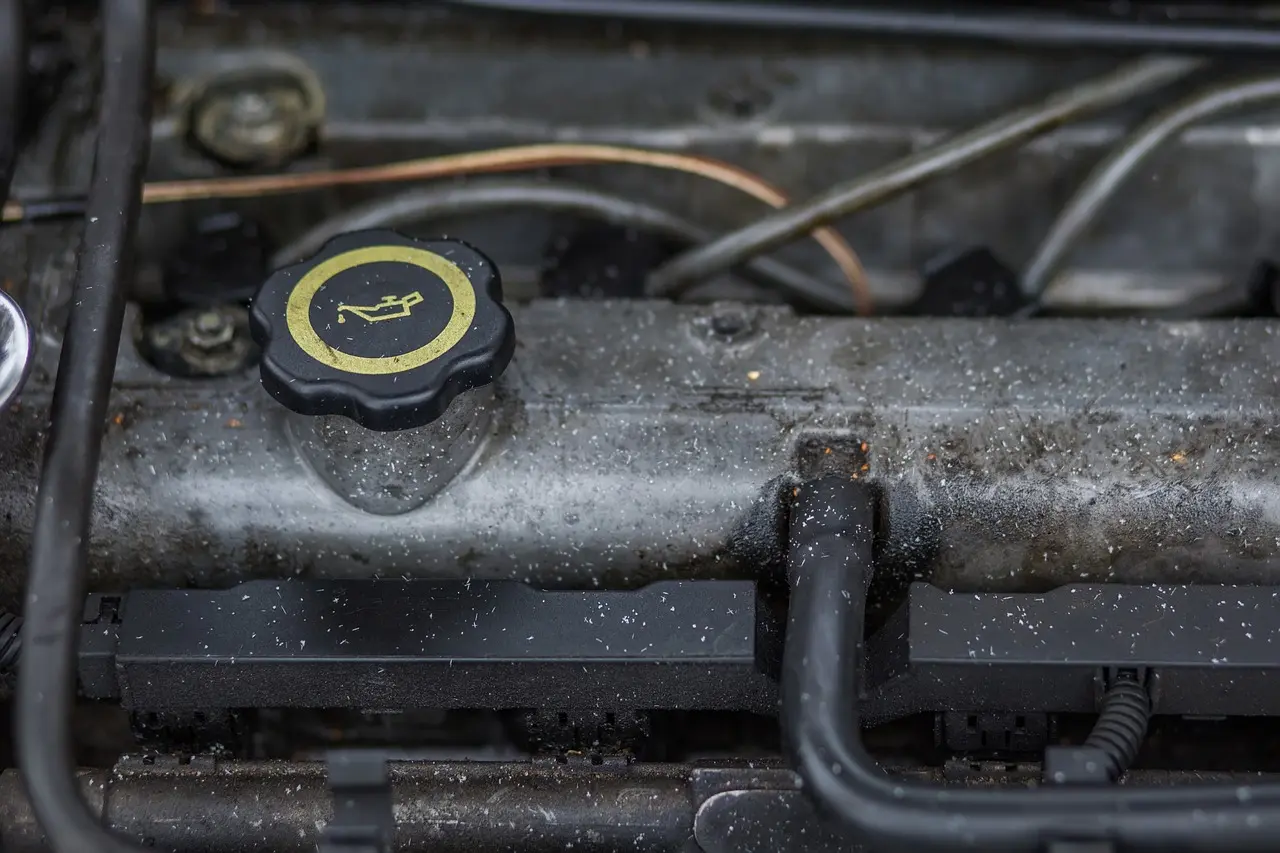
One low reading does not prove a leak or oil burning. Repeated low readings do. If the level drops again after a recent top-up, inspect for wet areas around the oil pan, drain plug, filter housing, valve cover, and underbody, then schedule diagnosis.
Oil use can rise from leaks, worn engine parts, long high-speed operation, or neglected service. The response depends on the pattern. A stable engine that needs a small top-up between services is different from one that loses oil quickly or smokes.
How to add oil without overfilling
Add oil in small stages through a funnel, wait for it to settle, and recheck the dipstick each time. Capacity in the manual is a refill guide, not a command to pour in that amount blindly. Oil left after draining, filter size, and engine angle can change what the dipstick shows.
What do dark oil, smells, and leaks mean?
Dark oil alone is a weak change signal. Smells, warning lights, smoke, metallic glitter, and visible leaks matter more because they can point to contamination, oil on hot parts, pressure loss, or internal wear. Those signs help you separate routine service from a do-not-drive problem.
What dark oil can and cannot tell you
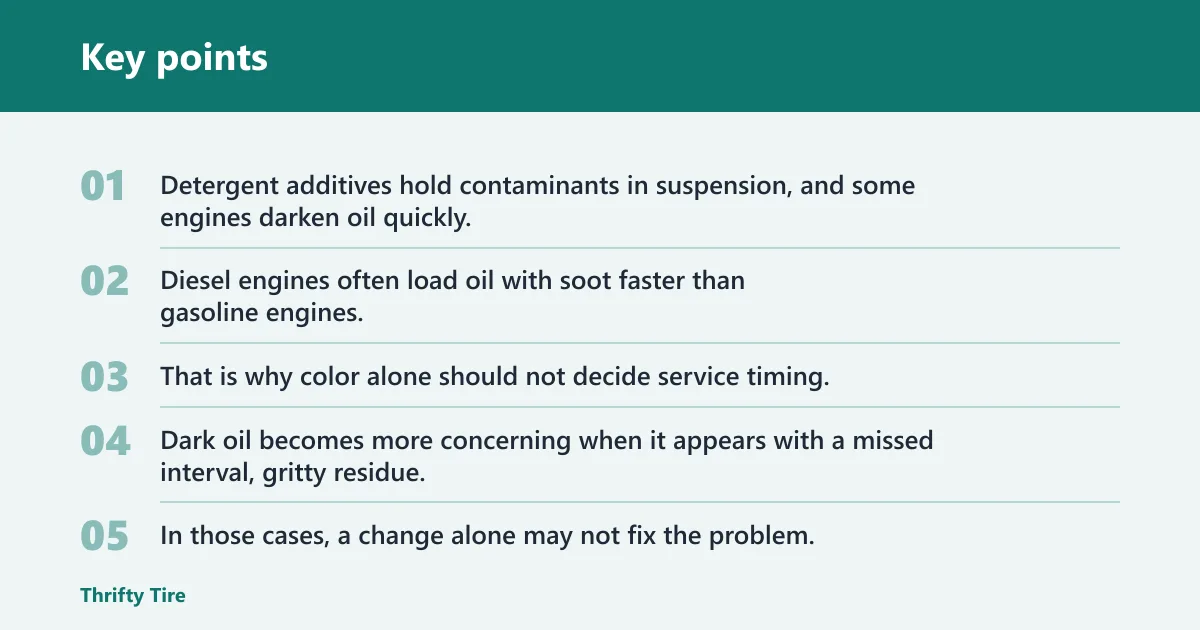
Dark oil can be normal. Detergent additives hold contaminants in suspension, and some engines darken oil quickly. Diesel engines often load oil with soot faster than gasoline engines. That is why color alone should not decide service timing.
Dark oil becomes more concerning when it appears with a missed interval, gritty residue, metallic sparkle, sludge, warning lights, rough running, or a strong abnormal smell. In those cases, a change alone may not fix the problem.
Fuel smell, burning smell, smoke, and warning lights
A fuel smell in the oil suggests dilution, often from repeated short trips or a running issue. A burning smell suggests oil is hitting a hot surface or getting too hot. Blue smoke can point to oil burning. Knocking with an oil light is a stop-now warning.
The oil pressure warning light is the symptom to treat most seriously. It can mean the engine is not getting proper lubrication pressure even if some oil still shows on the dipstick.
When a leak becomes urgent
Be more concerned when there is a fresh puddle, active dripping, a sudden level drop, or oil reaching the exhaust. Those signs move the problem out of routine maintenance and into immediate risk.
When the leak appears right after an oil change, check the easy items first: filter tightness, old filter gasket left behind, drain plug seating, and whether a crush washer or drain-plug washer was supposed to be replaced.
What do you need for a DIY oil change?
You need the correct oil, the correct filter, a safe way to access the drain plug and filter, and a way to capture and seal used oil for recycling. Jack stands are required for safer under-car access; a hydraulic jack alone is not acceptable support.
Parts and supplies
Gather the exact oil spec and viscosity grade, the correct oil filter, a funnel, gloves, rags, and a drain pan or sealable container. If the manufacturer specifies a replacement crush washer or drain-plug washer, have that ready before you begin.
The oil filter may be cartridge-style or spin-on. Cartridge filters often include new O-rings that must be replaced in the correct grooves. Spin-on filters need a gasket check so the old seal does not stay stuck to the engine.
Tools and safety gear
The same source lists a drain pan, oil filter wrench, funnel, jack stand, wheel chocks, and torque wrench among needed tools. You may also need the correct socket or hex tool for the drain plug and tools to remove splash shields.
Never work under a vehicle supported only by a hydraulic jack. Use jack stands on firm ground, chock the wheels, and confirm the vehicle is stable before going underneath.
How to verify oil filter fitment
Filter fitment matters as much as oil choice. Match the filter by the vehicle application or part number, then compare the old and new parts before installation. Check thread, diameter, height, sealing surface, and the supplied O-rings or gaskets.
How do you change engine oil safely?
Change oil safely by setting the car level and secure, draining into a proper pan, replacing the filter and any specified washer or O-ring, and refilling in stages before checking for leaks. Most DIY mistakes happen at the filter seal, drain plug, or final refill.
Basic sequence
- Confirm the required oil, filter, capacity, and washer details in the manual.
- Park on level ground, set the brake, chock the wheels, and raise the vehicle only if needed using proper support points and jack stands.
- Position the drain pan under the oil pan drain plug.
- Remove the drain plug carefully and let the used oil drain fully into the pan.
- Replace the drain-plug washer or crush washer if specified, then reinstall the drain plug securely without overtightening.
- Remove the old filter. Check that the old gasket or O-ring did not stay on the engine or cap.
- Install the new filter or cartridge parts in the correct orientation, using the supplied seals where required.
- Refill with fresh oil in stages, using less than the listed capacity at first, then recheck the dipstick and top off as needed.
- Start the engine briefly, shut it off, let it settle, and recheck the dipstick.
- Inspect for leaks around the filter and drain plug, then transfer used oil into a sealed container for recycling.
Drain plug, filter seal, and refill details
The drain plug is located on the oil pan and must go back in straight. Reusing damaged hardware or overtightening can strip threads or crush the washer badly enough to cause leaks. If the manufacturer says replace the washer, replace it.
On a spin-on filter, the old rubber seal must come off with the old filter. A double-gasket condition can dump oil quickly after startup. On a cartridge filter, install each new O-ring in the correct groove and seat the cap properly.
Do not fill to the listed capacity all at once. Refill in stages and verify with the dipstick. That reduces the chance of overfilling after an incomplete drain or a filter-size change.
Final checks and used-oil handling
The same source says to check for leaks after running the engine for 30 to 60 seconds. Then shut it off, let the oil settle, and confirm the level on the dipstick. If the warning light stays on or the engine sounds wrong, shut it down and inspect the work.
Used oil belongs in a sealed container for recycling. Do not pour it into a drain, onto the ground, or into ordinary trash where it can spill.
Frequently asked questions
How do I choose the right engine oil for my car?
Start with the owner’s manual, then match the required manufacturer spec, the approved viscosity grade, and the allowed oil type. If the manual permits options, use climate, driving pattern, and engine condition to choose among them. Do not pick by brand, price, or bottle claims first.
What tools do I need to change engine oil myself?
You need the correct oil, the correct filter, a drain pan or sealable container, a funnel, gloves, rags, and the right drain-plug and filter tools. If the car must be raised, use wheel chocks and jack stands. Never rely on a hydraulic jack alone.
When should I be worried about an oil leak?
Be concerned when you see a puddle, active dripping, a sudden level drop, smoke, or a burning smell from oil hitting hot exhaust parts. A leak right after service can come from the filter seal or drain-plug washer. If the oil light comes on, stop driving.